
Why Make Your Own Twinkies?
There is something undeniably nostalgic about the Twinkie. For many of us, it represents the gold standard of lunchbox treats. But let’s be honest: the mass-produced version often leaves a waxy aftertaste and a list of ingredients that looks more like a chemistry experiment than a snack. When you bake these at home, you get a tender, buttery sponge that actually tastes like vanilla and fresh eggs, paired with a cloud-like filling that isn’t cloying or artificial.
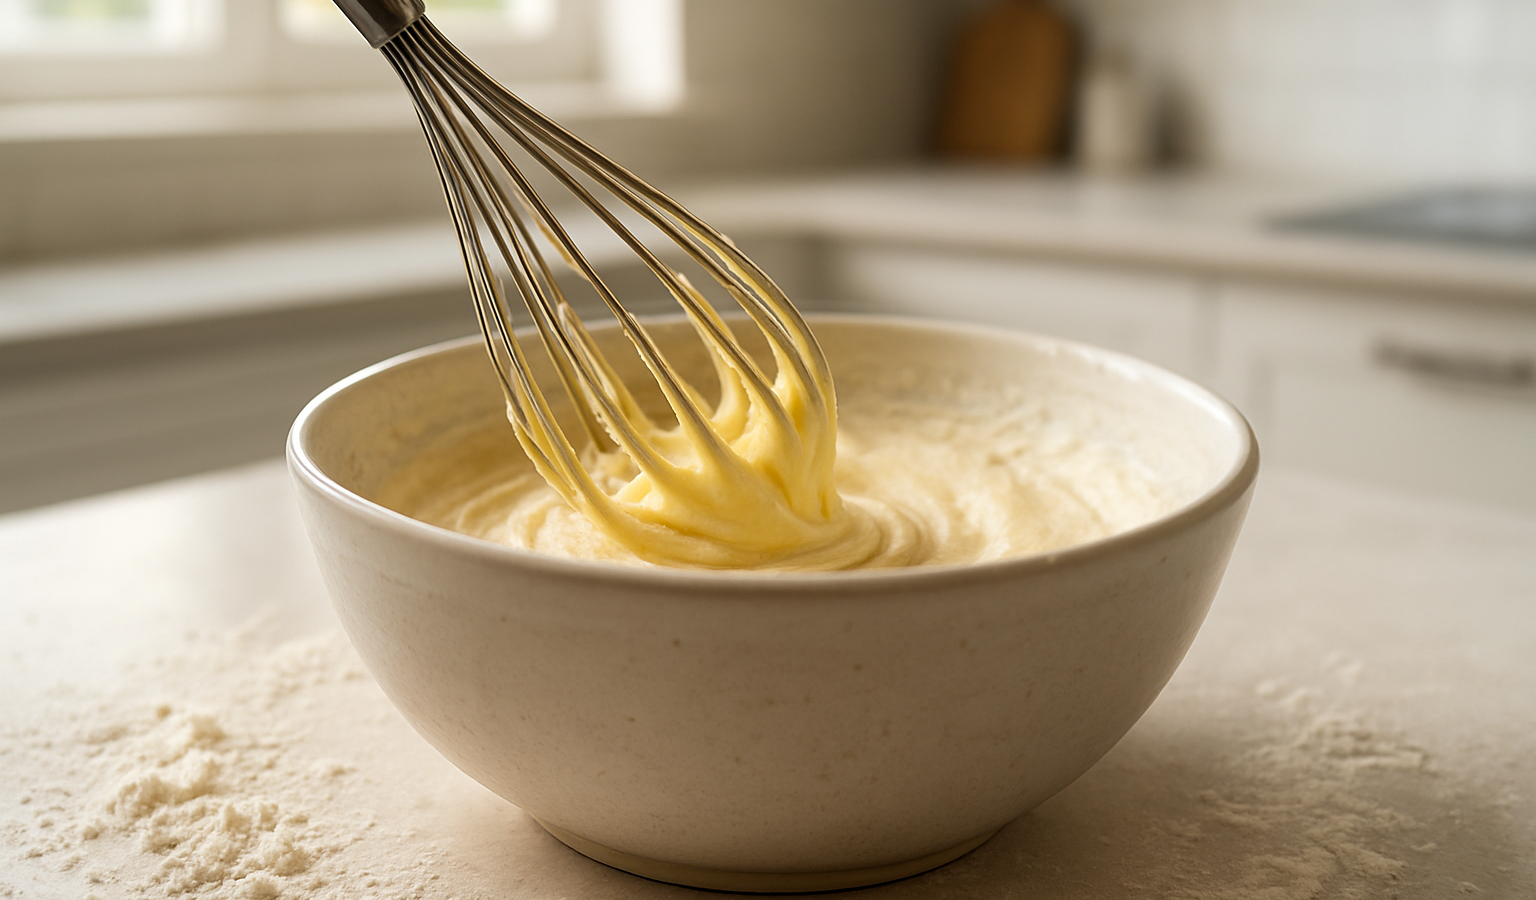
The secret to the perfect homemade Twinkie isn’t some complex culinary technique; it is all about the aeration of your batter and a gentle hand during the folding process. If you have ever felt intimidated by the idea of making a snack cake, put those fears aside. It is surprisingly straightforward.
Ingredients You Need
To get that classic texture, you need a few key pantry staples. Don’t try to swap the cake flour for all-purpose; cake flour has a lower protein content, which is essential for that delicate, fine crumb. For the filling, high-quality marshmallow fluff and a bit of butter make for a stable yet light center.
- Cake flour for a soft crumb
- Large eggs, room temperature
- Pure vanilla extract
- Marshmallow fluff
- Heavy cream
Step-by-Step Baking Process
Start by preheating your oven to 350u00b0F. You will need a canoe-shaped pan, which is the only piece of equipment that really makes this process authentic. If you don’t have one, you can use a standard muffin tin, though the shape will be different. Whisk your dry ingredients thoroughly to ensure no lumps remain. When beating the eggs and sugar, keep going until the mixture is pale, thick, and holds a ribbon trailu2014this is where your volume comes from.
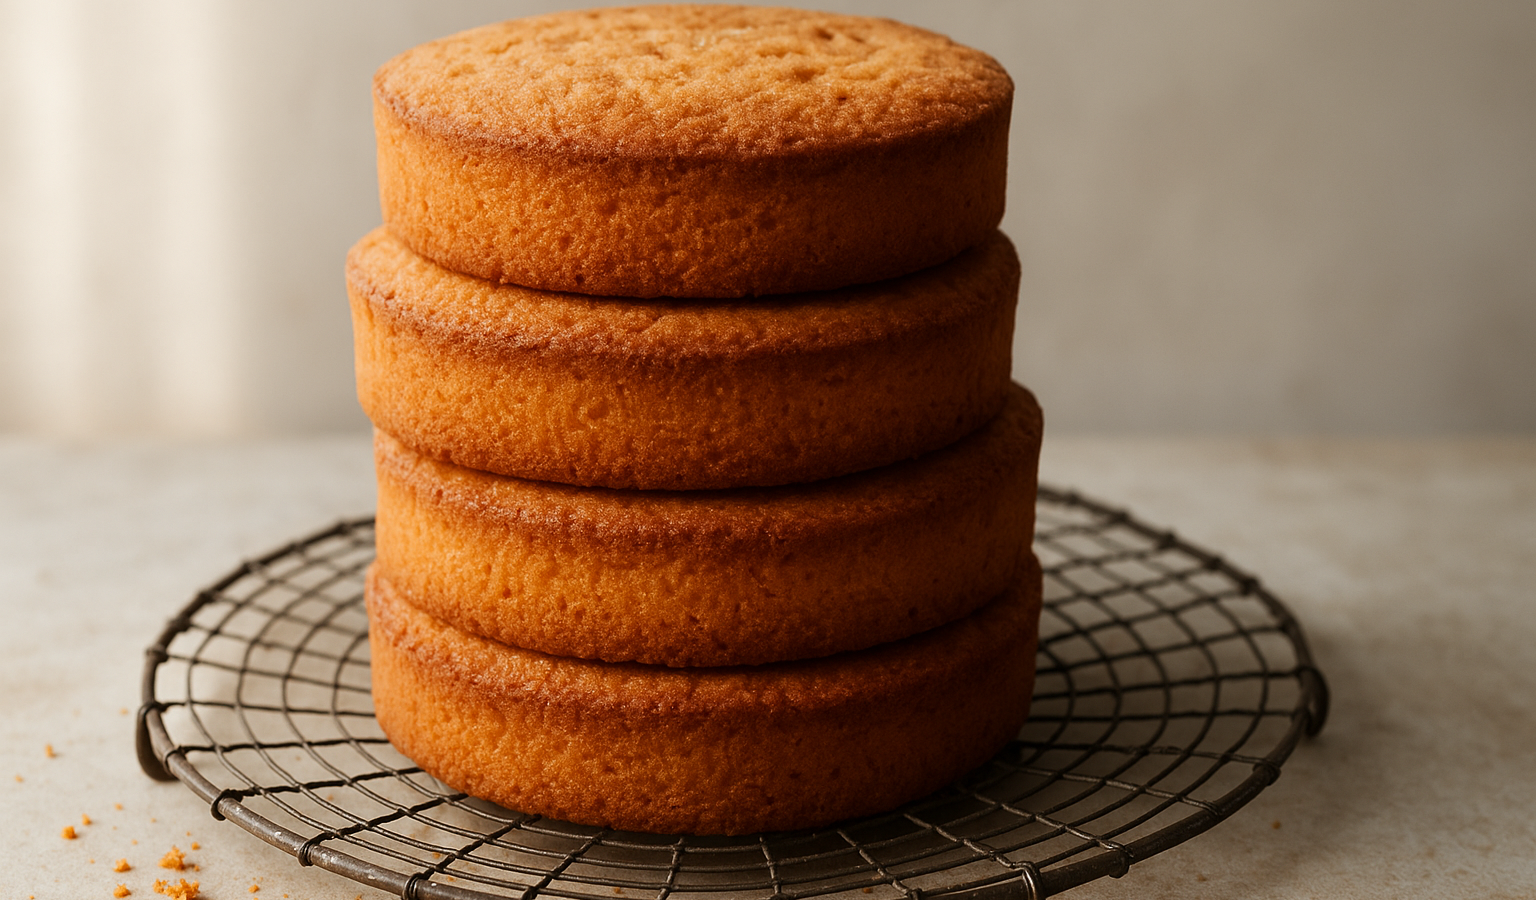
Gently fold the dry ingredients into the wet mixture. Do not rush this. If you deflate the air you just worked so hard to incorporate, your cakes will come out dense rather than light. Bake for about 12 to 15 minutes, or until the tops spring back when lightly touched.
Tips for the Perfect Filling
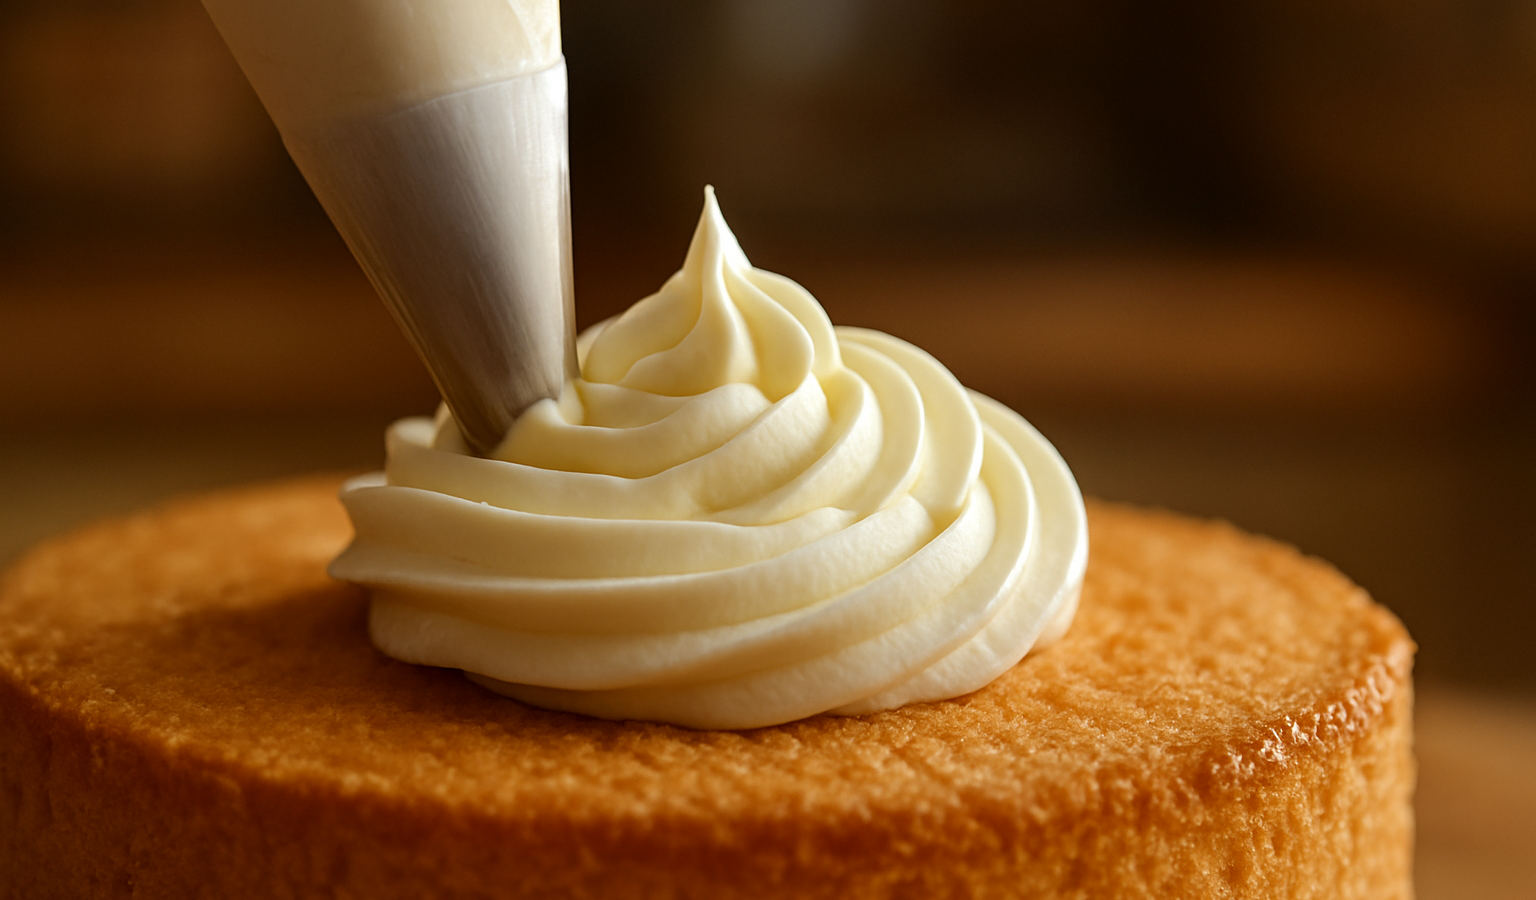
The filling is where the magic happens. You want to whip the butter and marshmallow fluff until it is incredibly pale and smooth. If you find the mixture is too soft, pop it in the fridge for ten minutes before transferring it to your piping bag. Using a long, thin piping tip is essential for getting the cream deep inside the cake without tearing the sponge.
Common Troubleshooting
If your cakes sink in the middle, your oven might be running too cool, or you might have opened the door before they were set. Avoid opening the oven during the first 10 minutes of baking. If the cakes stick to the pan, ensure you are greasing the mold with a thin layer of butter and a light dusting of flour, or use a high-quality baking spray with flour included.
Storage and Substitutions
These are best enjoyed within two days of baking. Keep them in an airtight container at room temperature. If you want to make them ahead, you can freeze the unfilled sponge cakes for up to a month. Simply thaw them, then pipe the filling in right before serving. If you are dairy-free, you can swap the butter for a high-quality vegan butter stick, but avoid using liquid oils as they will change the texture of the filling.
Frequently Asked Questions
Can I use a different filling? Absolutely. A whipped chocolate ganache or even a strawberry jam mixed with cream works beautifully.
Why is my cake dry? You likely overbaked it. Start checking for doneness at the 11-minute mark. Every oven is calibrated slightly differently.
How do I get the cream inside? Use a piping bag fitted with a Bismarck tip. This is a long, narrow metal tube designed specifically for filling pastries and cakes.
Related Posts
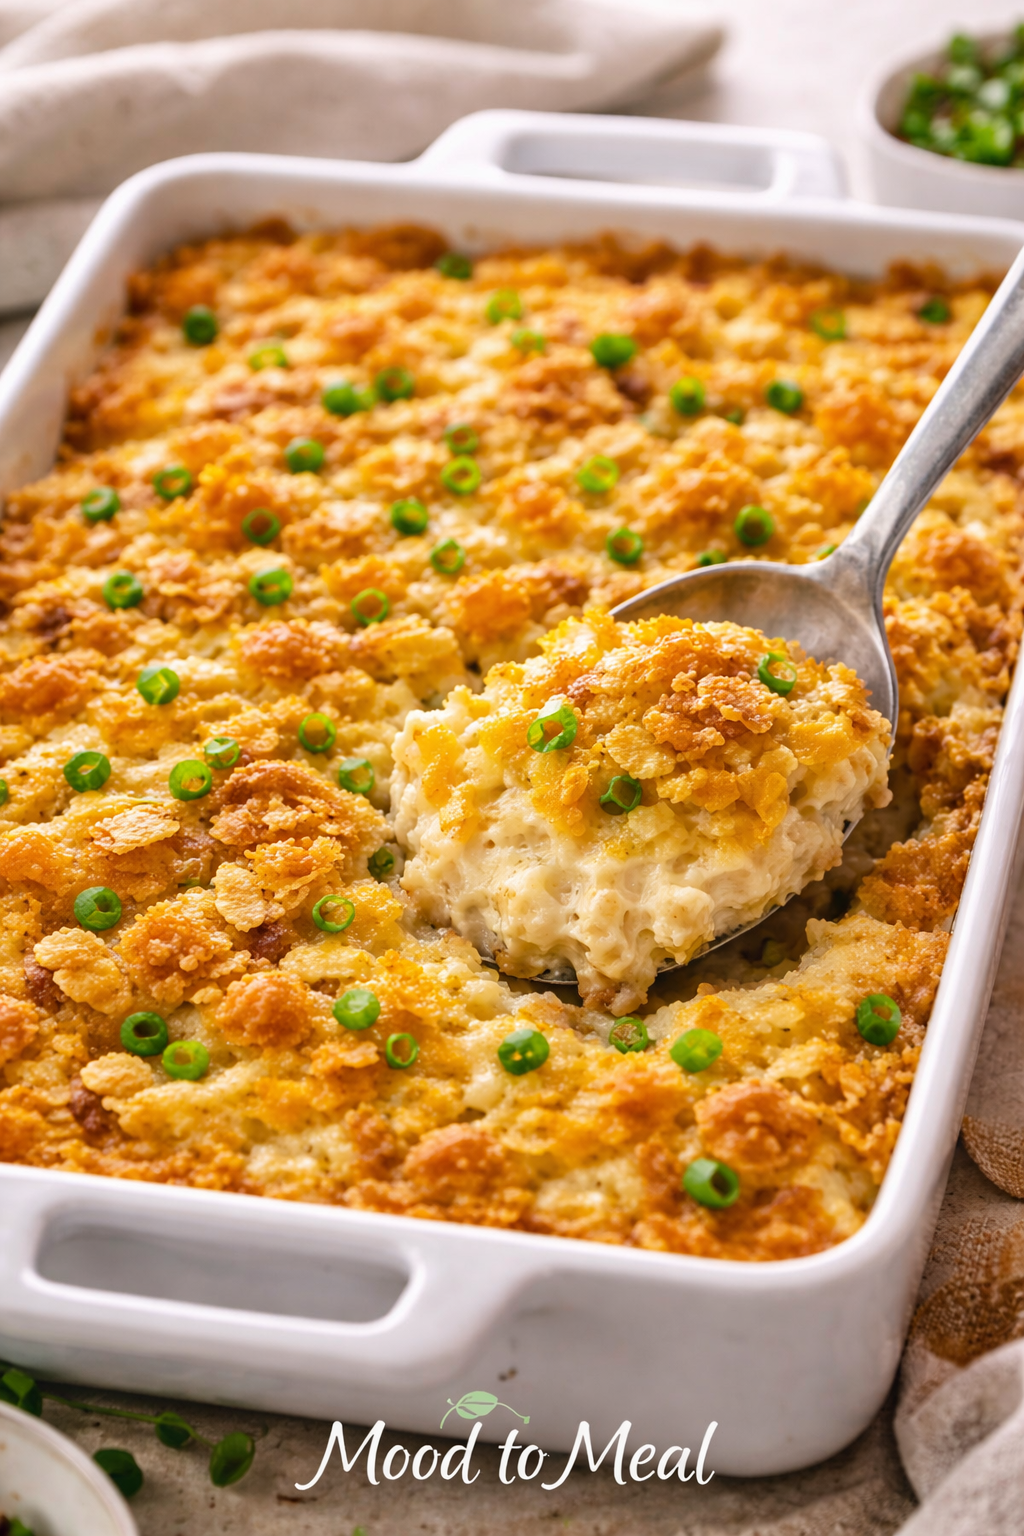
When Comfort Needs No Excuse: Party Potatoes for Easy, Crowd-Pleasing Moments
Some dishes don’t wait for holidays. They don’t ask for…
Easy Macaroni and Cheese Recipe (No Flour) — Comfort Food Made Simple
There are days when life feels like a whirlwind —…
The Decision Fatigue Guide: When to Order In vs. Cook at Home
The Great Dinner DilemmaIt is 6:00 PM. You are staring…