
The Ultimate Guide to Homemade Chicken Nuggets: Crispy, Juicy, and Unforgettable
There’s something undeniably comforting about a perfectly golden, crispy chicken nugget. It’s a taste that often takes us back to childhood, to quick weeknight dinners, or a treat after a long day. But let’s be honest, those store-bought versions, while convenient, often leave a little to be desired in terms of flavor and texture. They can be a bit… mysterious. What if I told you that making truly incredible chicken nuggets at home isn’t just possible, but surprisingly simple? And the result? A nugget that’s leagues above anything you’ll find in a freezer aisle – packed with real chicken flavor, perfectly seasoned, and wonderfully crunchy on the outside, juicy and tender within. Get ready to rediscover your love for this classic, but with a homemade twist that will make you wonder why you ever bought them pre-made.
Why Homemade Chicken Nuggets Are Simply the Best

When you take the plunge and make chicken nuggets from scratch, you gain complete control. You pick the quality of your chicken, you decide on the seasonings that dance on your palate, and you control the cooking method that gives you that ideal crunch. No mystery meat, no strange additives, just pure, wholesome goodness. Plus, there’s an immense satisfaction in seeing your family, especially the little ones, devour something you’ve lovingly prepared. It’s a meal that brings smiles, and honestly, isn’t that what good food is all about?
The Anatomy of a Perfect Chicken Nugget

Crafting the ultimate chicken nugget is a delightful process that breaks down into a few key components. Let’s talk about what makes them truly special.
The Chicken
For nuggets, boneless, skinless chicken breast is the go-to for its lean nature and ease of cutting. Thigh meat can also be used if you prefer a richer, slightly more forgiving texture – just be sure to trim any excess fat. The key is to cut the chicken into uniform, bite-sized pieces, roughly 1-inch cubes or irregular shapes, replicating that classic nugget form. This ensures even cooking. Some folks even grind their chicken, but for that authentic ‘bite’ and visible chicken texture, cutting is my preferred method.
The Seasoning
This is where you infuse flavor directly into the chicken. A simple mix of salt, black pepper, garlic powder, onion powder, and a touch of paprika works wonders. Don’t be shy here; the breading will add another layer of flavor, but the chicken itself needs to sing. A tiny pinch of cayenne pepper can add a subtle warmth without making them spicy, perfect for a family-friendly dish.
The Breading Station – A Three-Part Harmony:
- Flour Dredge: All-purpose flour, lightly seasoned with salt and pepper, creates the first adhesion layer. It helps the egg wash stick to the chicken.
- Egg Wash: Whisked eggs (usually 2-3 for a pound of chicken) act as the glue. Some people add a splash of milk or water to thin it slightly, but plain egg works perfectly well.
- Breadcrumbs: This is the crunch factor! Panko breadcrumbs are my absolute favorite for an incredibly crispy, light texture. Standard fine breadcrumbs work too, but Panko delivers that superior crunch. You can season your breadcrumbs as well with a little extra salt, pepper, garlic powder, or even some dried herbs like oregano or thyme for an extra layer of flavor.
Getting Started: What You’ll Need (Beyond the Basics)

Before we dive into the steps, gather your tools. You’ll want three shallow dishes or bowls for your breading station, a cutting board, a sharp knife, and your chosen cooking vessel – whether that’s a deep pot for frying, a baking sheet with a wire rack for baking, or your trusty air fryer.
My Go-To Homemade Chicken Nugget Recipe
This recipe is designed for ease and maximum flavor. Feel free to adjust seasonings to your heart’s content.
Yields: Approximately 4 servings (about 20-25 nuggets)
Prep time: 20 minutes
Cook time: 10-20 minutes, depending on method
Ingredients:
- 1.5 lbs boneless, skinless chicken breast or thighs, cut into 1-inch pieces
- 1 teaspoon salt, plus more for breading
- ½ teaspoon black pepper, plus more for breading
- 1 teaspoon garlic powder
- ½ teaspoon onion powder
- ½ teaspoon paprika (smoked or sweet, your choice!)
- 1 cup all-purpose flour
- 2 large eggs, whisked
- 2 cups Panko breadcrumbs (or regular breadcrumbs)
- Oil for frying (vegetable, canola, or peanut oil) OR cooking spray for baking/air frying
Step-by-Step Instructions:
- Prepare the Chicken: Pat your chicken pieces thoroughly dry with paper towels. This is a crucial step for crispy nuggets! In a medium bowl, toss the chicken pieces with 1 teaspoon salt, ½ teaspoon black pepper, garlic powder, onion powder, and paprika until evenly coated.
- Set Up Your Breading Station: Grab three shallow dishes. In the first, add the 1 cup of flour. In the second, pour the whisked eggs. In the third, add the 2 cups of Panko breadcrumbs. You can optionally season the flour and breadcrumbs with a pinch more salt and pepper, or even a dash of garlic powder, for extra flavor.
- Dredge the Chicken: Working with a few chicken pieces at a time, dredge each piece first in the flour, shaking off any excess. Then dip it into the egg wash, ensuring it’s fully coated. Finally, roll it in the Panko breadcrumbs, pressing gently to make sure the crumbs adhere well to all sides. Place the breaded nuggets on a clean plate or baking sheet as you go. Try to use one hand for the wet ingredients and one for the dry to keep things neat!
- Chill (Optional but Recommended): If you have 15-30 minutes, pop the breaded nuggets into the refrigerator. This helps the breading set and stick better during cooking, leading to less shedding and a crispier result.
- Choose Your Cooking Method:
- Deep Frying (for ultimate crispiness): Pour about 2-3 inches of oil into a heavy-bottomed pot or Dutch oven. Heat the oil to 350-375°F (175-190°C). Use a thermometer for accuracy! Carefully add nuggets in batches, making sure not to overcrowd the pot. Fry for 3-5 minutes, turning occasionally, until golden brown and cooked through (internal temperature reaches 165°F/74°C). Remove with a slotted spoon and place on a wire rack set over paper towels to drain excess oil.
- Baking (a healthier option): Preheat your oven to 400°F (200°C). Lightly grease a wire rack and place it on a baking sheet. Arrange the breaded nuggets in a single layer on the rack, ensuring they aren’t touching. Lightly spray the tops of the nuggets with cooking spray. Bake for 15-20 minutes, flipping halfway through, until golden brown and cooked through.
- Air Frying (quick and crispy): Preheat your air fryer to 375°F (190°C). Lightly spray the air fryer basket with cooking spray. Arrange nuggets in a single layer, working in batches if necessary, making sure not to overcrowd. Lightly spray the tops of the nuggets with cooking spray. Air fry for 10-14 minutes, shaking the basket or flipping the nuggets halfway through, until golden brown and cooked through.
- Serve Immediately: Let the nuggets rest for a minute or two, then serve hot with your favorite dipping sauces!
Tips for Nugget Perfection:
- Don’t Skip the Pat Dry: Excess moisture is the enemy of crispiness. Dry chicken means better breading adhesion and a crispier crust.
- Uniform Pieces: Cutting your chicken into similar sizes ensures they all cook at roughly the same rate. No burnt small bits and raw large bits!
- Season in Layers: Seasoning the chicken, then the flour, and then the breadcrumbs builds a deeper, more satisfying flavor profile.
- Batch Cook: Whether frying, baking, or air frying, resist the urge to cram too many nuggets into your cooking vessel. Overcrowding drops the oil temperature (for frying) or steams the nuggets instead of crisping them (for baking/air frying). Give them space!
- Temperature Control is Key (especially for frying): If your oil isn’t hot enough, the nuggets will absorb too much oil and become greasy. If it’s too hot, the outside will burn before the inside cooks. Invest in a good thermometer.
- Double Breading for Extra Crunch: For an even thicker, crunchier crust, after the first breading, dip the nugget back into the egg wash and then into the breadcrumbs again. This creates an extra-hearty exterior.
Flexible Substitutions and Variations:
The beauty of homemade food is making it your own!
- Chicken Cut: While breast is classic, boneless, skinless chicken thighs offer a juicier, more flavorful nugget due to their higher fat content. Just be sure to trim any large fatty bits.
- Breading Beyond Panko: If Panko isn’t available, regular fine breadcrumbs work well. For a gluten-free option, use gluten-free flour and gluten-free breadcrumbs. Crushed cornflakes also make a surprisingly crispy coating!
- Spice It Up: Add a pinch of cayenne pepper, chili powder, or smoked paprika to your chicken seasoning or breadcrumbs for a spicier kick.
- Herbaceous Notes: Dried oregano, thyme, or Italian seasoning can be mixed into the breadcrumbs for an aromatic twist.
- Cheese Please: A tablespoon or two of finely grated Parmesan cheese mixed into the breadcrumbs adds a savory, cheesy layer.
Serving Suggestions:
The possibilities for dipping sauces are endless! Classic ketchup, tangy BBQ sauce, sweet and sour, honey mustard, or a creamy ranch dressing are always winners. Don’t forget to serve them with a side of crispy fries, a fresh green salad, or some steamed veggies for a complete meal.
Storage and Reheating:
Homemade nuggets are best enjoyed fresh, but leftovers are still fantastic!
- Storage: Allow cooked nuggets to cool completely. Store them in an airtight container in the refrigerator for up to 3-4 days.
- Freezing (Cooked): Once cooled, spread the nuggets in a single layer on a baking sheet and freeze until solid (about 1-2 hours). Transfer the frozen nuggets to a freezer-safe bag or container and store for up to 2-3 months. Freezing them individually first prevents them from clumping together.
- Reheating: For the best results, avoid the microwave as it can make them soggy.
- Oven/Toaster Oven: Preheat to 350°F (175°C). Place nuggets on a wire rack set over a baking sheet and bake for 10-15 minutes (longer if frozen), until heated through and crispy.
- Air Fryer: Preheat to 350°F (175°C). Air fry for 5-8 minutes (longer if frozen), shaking the basket halfway, until hot and crisp.
Frequently Asked Questions About Homemade Chicken Nuggets:
- Q: Can I use ground chicken for this recipe?
A: Yes, you can! If using ground chicken, mix in your seasonings, then form into small nugget shapes. The breading process remains the same. The texture will be different – more uniform and less ‘chunky’ than cut chicken breast. - Q: My breading keeps falling off. What am I doing wrong?
A: This is usually due to moisture on the chicken or not pressing the breadcrumbs firmly enough. Ensure your chicken is patted very dry, and press the breadcrumbs onto each piece firmly. Chilling the breaded nuggets for a bit before cooking also helps the breading adhere. - Q: How do I know when the nuggets are fully cooked?
A: The safest way is to use a meat thermometer. Chicken should reach an internal temperature of 165°F (74°C). Visually, they should be golden brown and the juices should run clear when you cut into one. - Q: Can I prepare these ahead of time?
A: You can bread the nuggets a few hours ahead and keep them refrigerated on a baking sheet covered loosely with plastic wrap. For longer storage, freeze them as described in the ‘Storage’ section and cook from frozen.
A Simple Pleasure, Made Special:
There you have it – a comprehensive guide to making chicken nuggets that are far superior to any fast-food or frozen aisle contender. It’s a recipe that delivers on flavor, texture, and the joy of knowing exactly what’s in your food. Whether you’re making them for a quick family dinner, a fun party appetizer, or just a treat for yourself, these homemade chicken nuggets are sure to become a staple in your kitchen. So grab your chicken, set up your breading station, and get ready to enjoy the crispiest, juiciest, most flavorful nuggets you’ve ever tasted. Happy cooking!
Related Posts
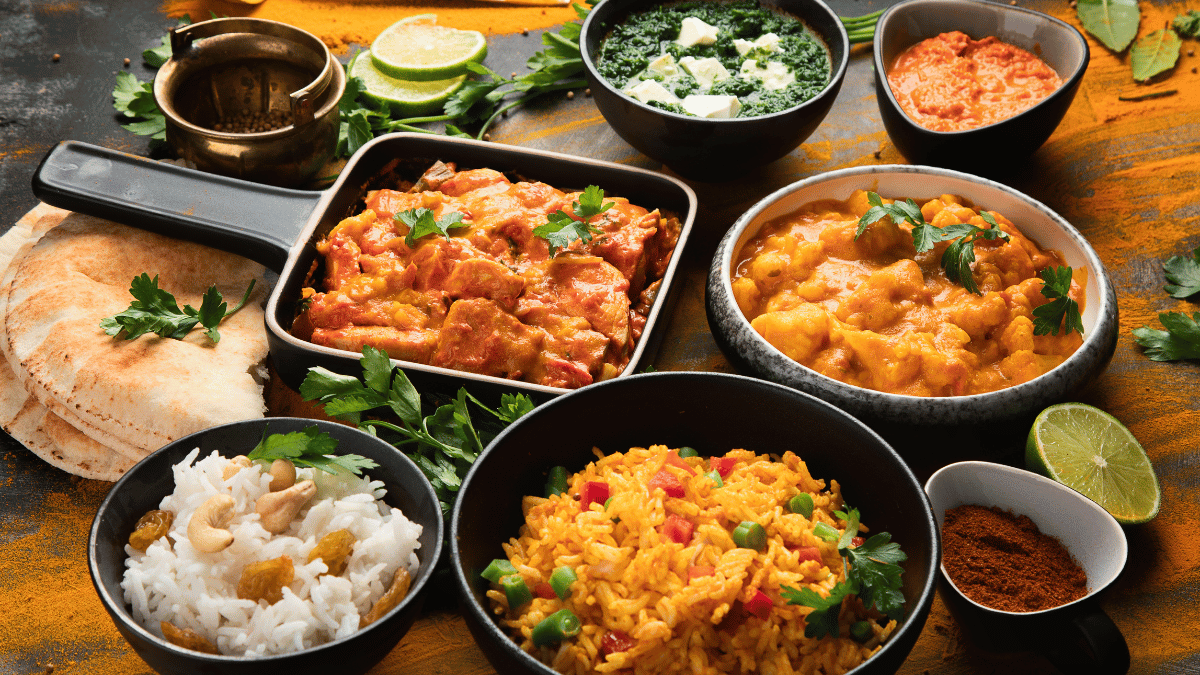
Is Indian Food Healthy? A Deep Dive into Nutrition, Flavor, and Balance
If you’ve ever walked into an Indian restaurant or been…

Warm Cinnamon Apple Crumble | Cozy Comfort Dessert for Calm Evenings
Some desserts don’t just satisfy a sweet craving — they…
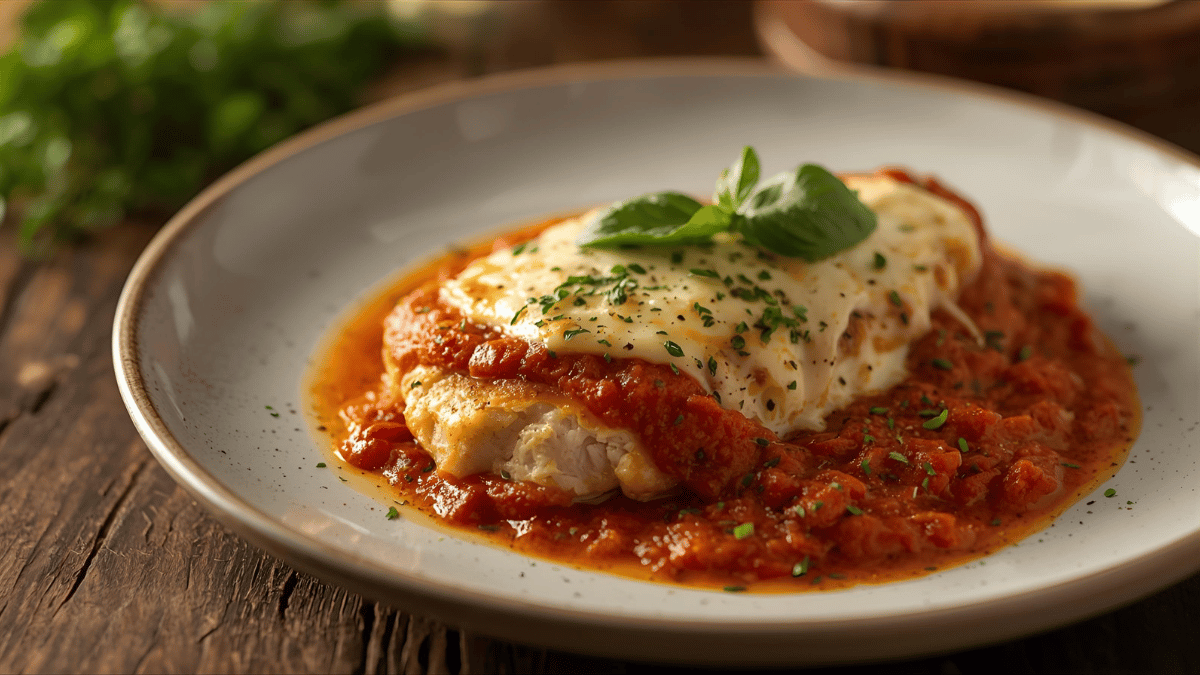
Easy Chicken Parmesan Recipe Without Breadcrumbs
A Cozy Kitchen Story About Finding Flavor in Imperfection You…