
When I first started experimenting with gluten-free baking, I wasn’t sure where to begin. I had always been the kind of person who believed that baking was all about precision — the right measurements, the right texture, the right balance of ingredients. But when my sister was diagnosed with gluten intolerance, everything changed. Suddenly, our favorite chocolate chip cookies — the ones we baked every weekend — were off-limits for her.
That weekend, I decided to take on a challenge: recreate our favorite chocolate chip cookies without using a single ounce of gluten. I didn’t realize it then, but this challenge would turn into a long, rewarding baking journey filled with experiments, mistakes, and triumphs.
The first few batches didn’t turn out well. The dough was sticky, the cookies spread too thin, and the texture was off. But I kept trying. I swapped flours, tested ratios, and adjusted the butter. It was trial and error — but slowly, things began to click.
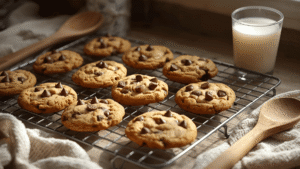
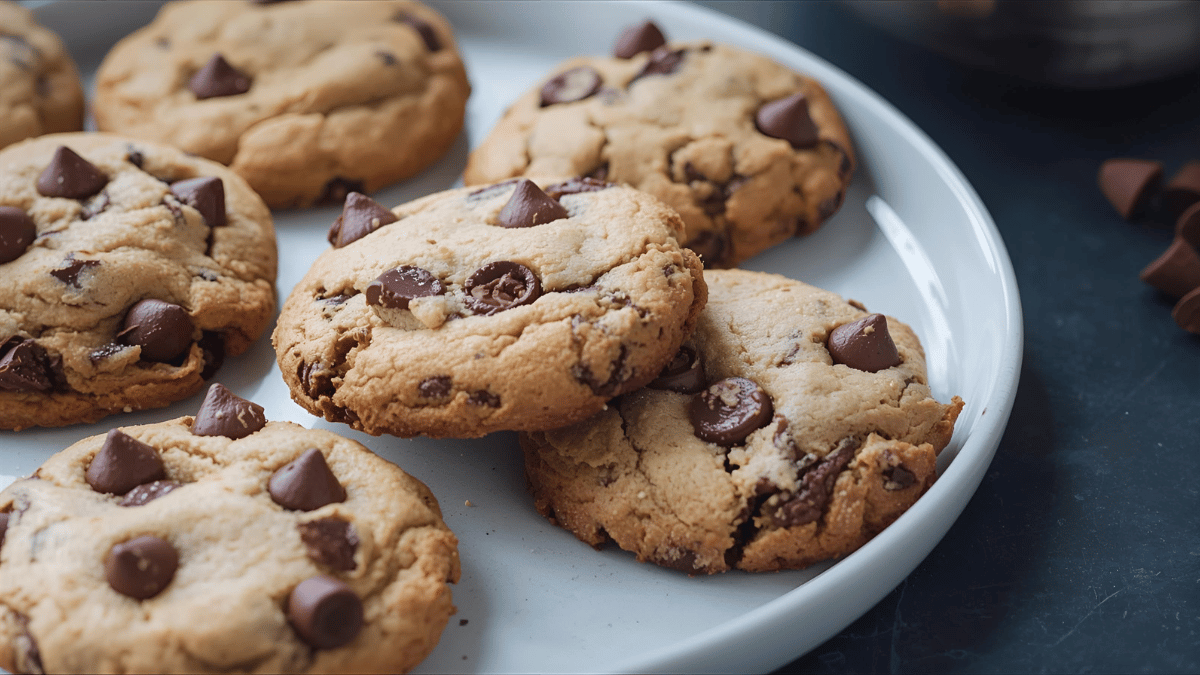
One day, I pulled a batch out of the oven that looked promising. They were golden around the edges, soft in the center, and filled with melting pools of chocolate chips. I let them cool just enough to take a bite — and that first chewy, buttery mouthful was perfect. It was everything I wanted in a cookie.
That moment taught me something valuable: gluten-free baking isn’t about limitation — it’s about innovation. It’s a chance to rediscover textures and flavors in new ways. And now, I’m sharing this recipe so you can experience the same joy — because trust me, these cookies aren’t just “good for gluten-free.” They’re just plain good.
Why These Cookies Are So Special
There’s something magical about the balance in this recipe. The crisp edge melts into a chewy middle, while the chocolate chips stay soft and rich even after cooling. The secret lies in the flour blend and the resting time — two simple steps that make all the difference.
You don’t need to be a professional baker to make them. You just need patience, a good-quality gluten-free flour, and a little love.
Ingredients
🧂 Dry Ingredients
-
2 ¼ cups gluten-free all-purpose flour (with xanthan gum included)
-
1 teaspoon baking soda
-
½ teaspoon fine sea salt
🧈 Wet Ingredients
-
¾ cup unsalted butter (melted, then slightly cooled)
-
1 cup packed light brown sugar
-
½ cup granulated white sugar
-
2 large eggs, room temperature
-
1 tablespoon pure vanilla extract
🍫 Add-ins
-
2 cups semisweet chocolate chips (or chunks)
-
Optional: ½ cup chopped pecans or walnuts for crunch
Preparation Method (Step-by-Step)
Step 1: Prepare Your Kitchen
Preheat your oven to 350°F (175°C) and line a baking sheet with parchment paper. Gather all your ingredients and allow your eggs to come to room temperature. This ensures even mixing and a smoother texture.
Step 2: Combine Dry Ingredients
In a medium bowl, whisk together your gluten-free flour, baking soda, and salt. This simple step prevents clumping and ensures the baking soda disperses evenly for perfect texture.
Step 3: Mix the Wet Base
In a separate large bowl, whisk the melted butter, brown sugar, and granulated sugar until smooth and creamy. The combination of sugars adds depth — brown sugar provides moisture and chewiness, while white sugar adds crisp edges.
Step 4: Add Eggs and Vanilla
Whisk in the eggs one at a time, then stir in the vanilla extract. Don’t rush this step — mixing thoroughly ensures your cookies stay soft without being cakey.
Step 5: Combine Wet and Dry
Gradually fold the dry mixture into the wet base using a wooden spoon or silicone spatula. Mix just until combined — overmixing can make your cookies dense.
Step 6: Add Chocolate Chips
Fold in your chocolate chips and optional nuts until evenly distributed. The dough should be thick but soft enough to scoop.
Step 7: Chill the Dough
Refrigerate for at least 30 minutes. This step prevents spreading and deepens the flavor. If you can wait a few hours (or overnight), the result will be even better.
Step 8: Scoop and Bake
Scoop 2-tablespoon portions of dough onto your lined baking sheet, spacing them 2 inches apart. Bake for 10–12 minutes, until the edges turn golden brown but the centers still look soft.
Step 9: Cool
Let cookies cool on the baking sheet for 5 minutes before transferring to a rack. This allows them to firm up without losing their chewy centers.
Expert Tips
-
Use room-temperature eggs — cold eggs can cause uneven texture.
-
Don’t skip chilling — it’s the secret to chewy cookies.
-
Weigh your flour if you can (280g) for best consistency.
-
Use parchment paper for even heat distribution.
-
Add a pinch of sea salt on top for that perfect sweet-salty finish.
Flavor Variations
-
Dark Chocolate & Sea Salt: Use 70% dark chocolate chunks and sprinkle flaky sea salt before baking.
-
Vegan Option: Substitute butter with coconut oil or vegan butter, and eggs with flax eggs.
-
Nut Butter Twist: Swirl in a tablespoon of almond or peanut butter before baking for an extra layer of richness.
-
Double Chocolate: Replace ¼ cup of flour with cocoa powder for fudgy, brownie-like cookies.
Storage and Freezing
-
Room Temperature: Store in an airtight container for 5 days.
-
Refrigerate Dough: Up to 3 days before baking.
-
Freeze Dough: Up to 3 months. Bake straight from frozen for a few extra minutes.
-
Freeze Baked Cookies: Wrap individually in plastic, store for up to 2 months.
Gluten-Free Chocolate Chip Cookies
Ingredients
Method
- Preheat oven to 350°F (175°C) and line baking sheet.
- Mix dry ingredients in one bowl.
- Combine butter, sugars, eggs, and vanilla in another.
- Add dry to wet and mix until just combined.
- Fold in chocolate chips.
- Chill dough 30 minutes.
- Scoop onto baking sheet and bake 10–12 minutes.
- Cool and serve.
Nutrition (Per Cookie)
Calories: 185 | Carbs: 22g | Fat: 9g | Protein: 2g
Final Thought:
Gluten-free chocolate chip cookies are more than just a dessert—they’re proof that comfort food can be inclusive, delicious, and indulgent for everyone. Whether you’re baking for a gluten-sensitive loved one or simply exploring healthier alternatives, this recipe brings back the joy of home-baked goodness without compromise. Every chewy, buttery bite filled with melting chocolate chips feels like a warm hug straight from the oven. So, grab your apron, preheat your oven, and bake a batch of these golden, gooey cookies—you’ll quickly see why they’ve become a favorite in gluten-free kitchens everywhere. They’re not just cookies; they’re a reminder that great flavor knows no limits.
Related Posts
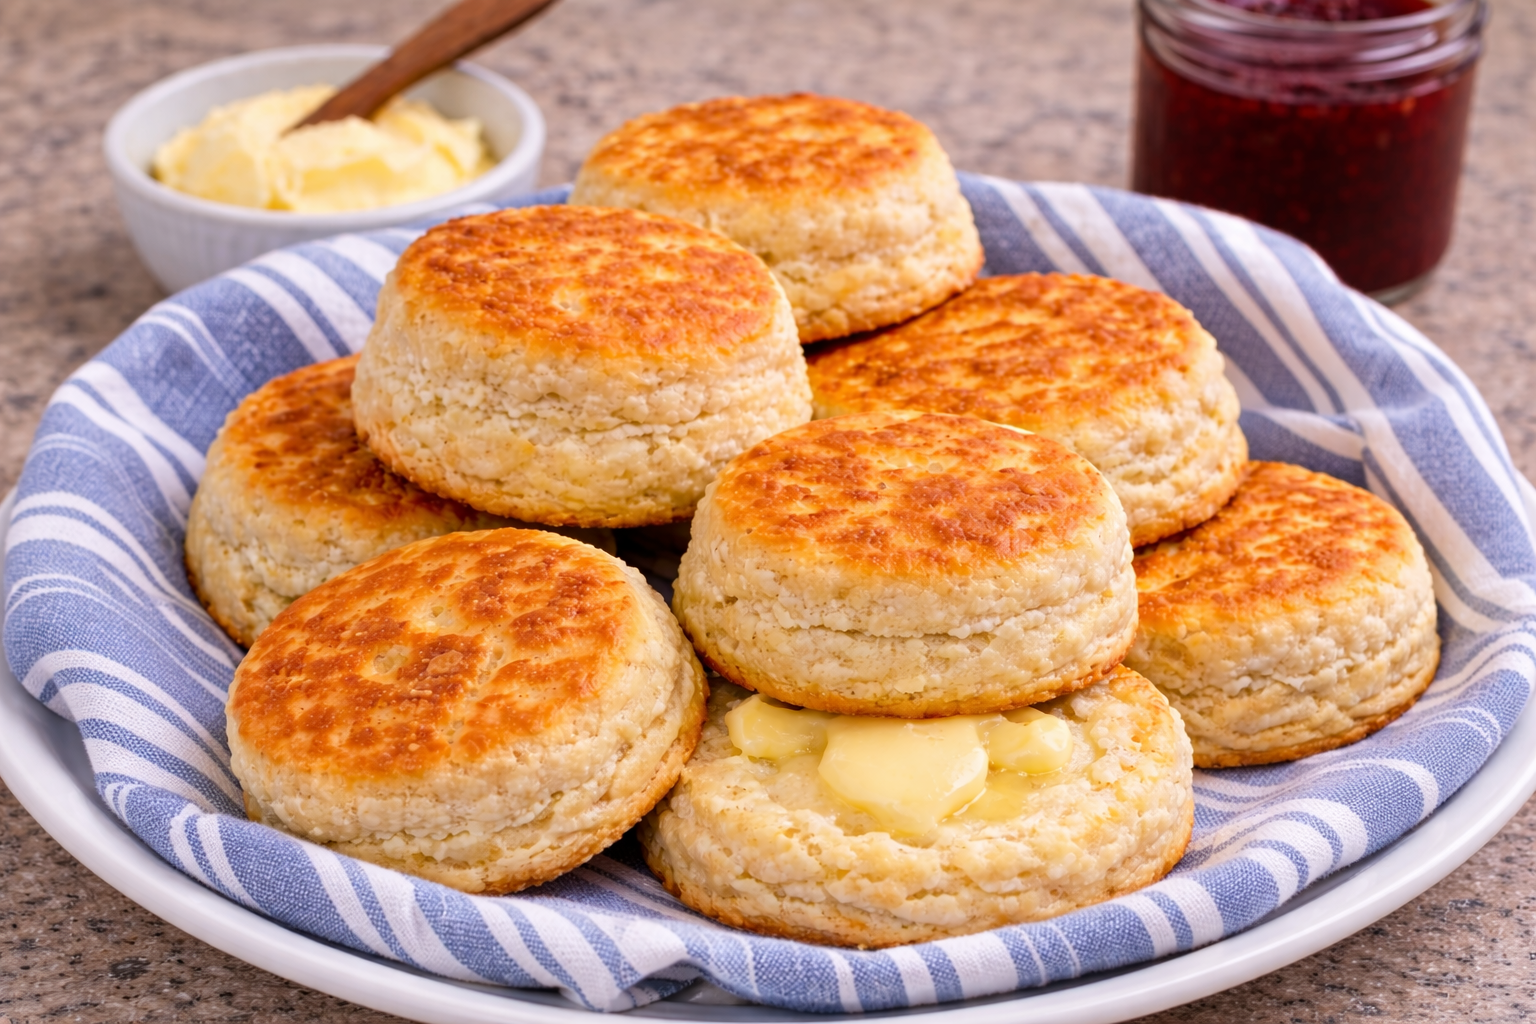
Pan-Fried Homemade Biscuits Recipe | Easy Comfort Food (No Oven)
I Suddenly Really Wanted Something Warm and Fried, So I…
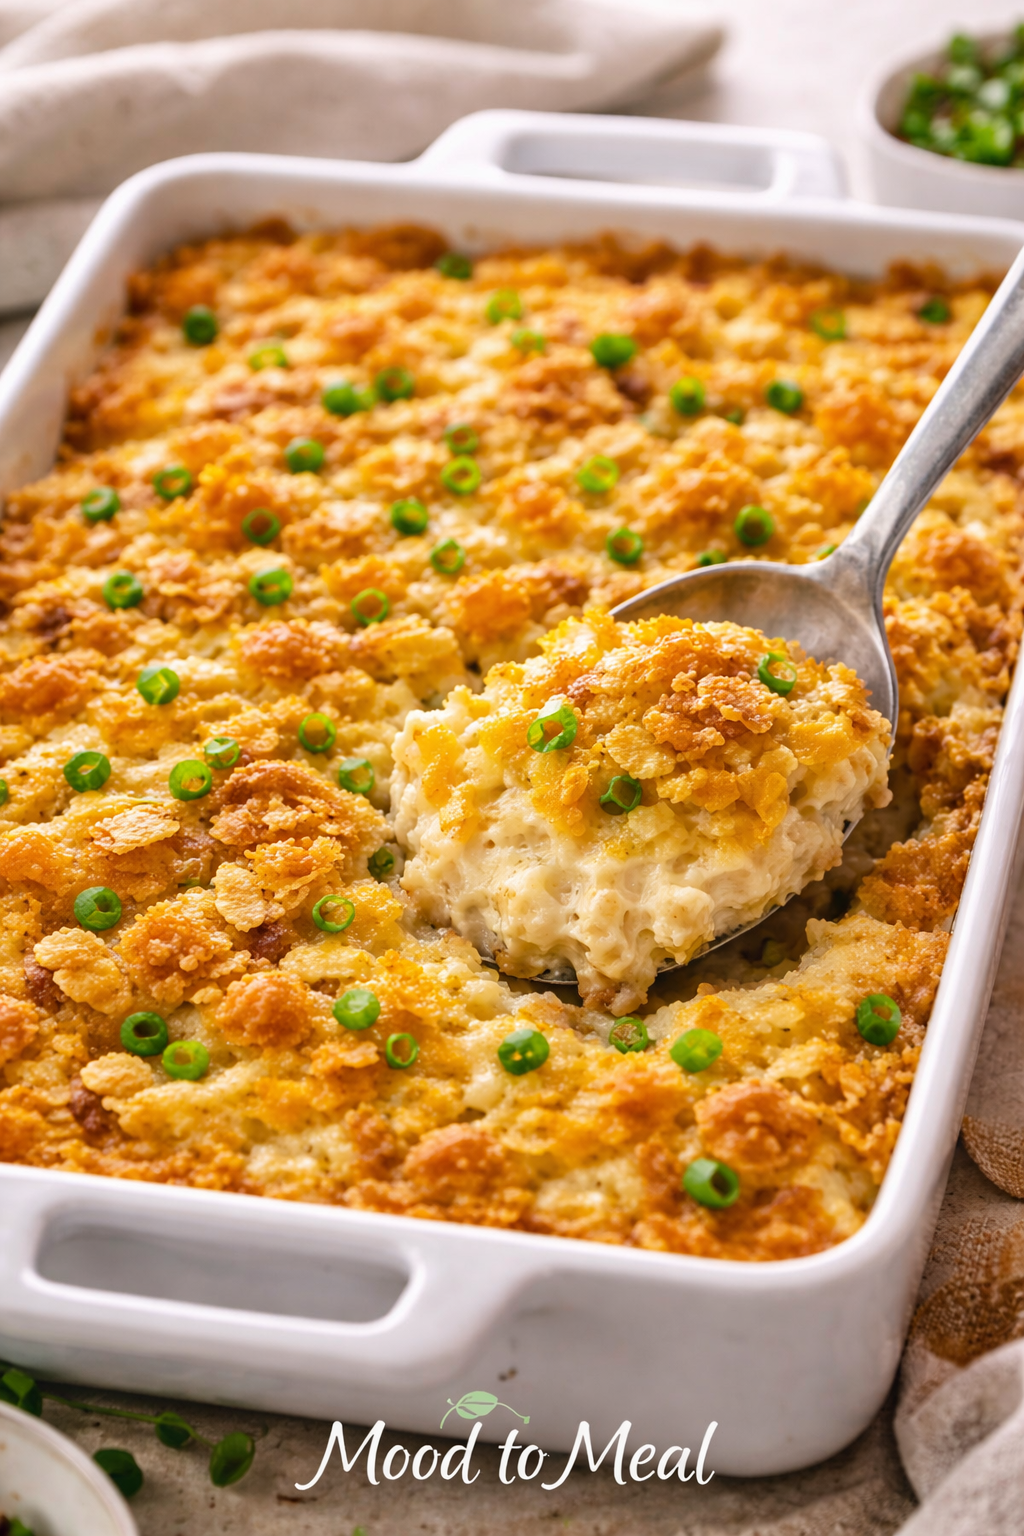
When Comfort Needs No Excuse: Party Potatoes for Easy, Crowd-Pleasing Moments
Some dishes don’t wait for holidays. They don’t ask for…
Comfort Food Recipes for Dinner – Warm, Easy, Mood-Based Meals for Cozy Evenings | MoodToMeal
Some evenings carry a heaviness that you don’t talk about…