
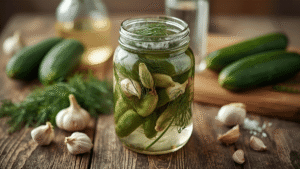
There’s something deeply satisfying about opening a jar of homemade kosher dill pickles. The crunch, the aroma of garlic and dill, and that briny tang that hits just right — it’s pure kitchen magic. I’ve made pickles for years, experimenting with all kinds of techniques, spices, and cucumbers. But this classic kosher dill pickle recipe is the one I always come back to. It’s simple, foolproof, and tastes better than anything you’ll find on a store shelf.
If you love pickles that are crisp, garlicky, and naturally fermented with that perfect sour kick, this guide will show you exactly how I do it — step by step, from the cucumbers to the jar.
🧺 What “Kosher Dill Pickle” Actually Means
A lot of people think “kosher” just means the pickles follow Jewish dietary laws. While that’s true for some brands, in the pickle world, “kosher” really refers to the style — a garlicky, salty brine traditionally made in New York delis by Jewish immigrants. So when you see “kosher dill,” it means the pickles are seasoned with garlic, dill, and natural spices, not necessarily that they’re certified kosher.
🥒 Ingredients You’ll Need
The secret to perfect pickles is starting with fresh cucumbers. Choose small, firm ones — the kind made for pickling, often called Kirby cucumbers. Avoid waxed ones; the wax prevents the brine from soaking in.
Here’s everything I use:
For 1 Quart Jar (Double or Triple as Needed)
-
6–8 small cucumbers (3–4 inches long)
-
3 cloves garlic, peeled and smashed
-
1 tablespoon kosher salt (not iodized salt)
-
1 cup white vinegar (5% acidity)
-
1 cup water
-
1 teaspoon mustard seeds
-
½ teaspoon black peppercorns
-
1 teaspoon coriander seeds
-
2–3 sprigs fresh dill (flowering heads if you can find them)
-
1 bay leaf
-
Optional: pinch of red pepper flakes for heat
🧂 The Perfect Brine Ratio
Brine is the soul of a pickle. Too salty, and you’ll overpower the cucumber; too mild, and the flavor falls flat. I always follow this simple ratio:
1 tablespoon kosher salt per 2 cups liquid (equal parts vinegar and water).
It gives just the right balance of tang and salt, letting the garlic and dill shine through.
🔪 Step-by-Step Preparation
When I teach friends to make pickles, I always say: the secret is cleanliness, patience, and a good seal.
Step 1: Prepare the Cucumbers
Wash the cucumbers thoroughly under cool running water. Trim just the blossom ends (they contain enzymes that can soften pickles). Leave the stem ends intact for a firmer texture.
If you like your pickles in spears or chips, slice them now. Personally, I love keeping them whole — they stay crisp longer.
Step 2: Sterilize the Jars
Before you start brining, sterilize your jar. Boil it in water for 10 minutes or run it through a hot dishwasher cycle. This step prevents mold and ensures your pickles stay safe and crunchy.
Let the jar air dry on a clean towel.
Step 3: Prepare the Brine
In a small saucepan, combine water, vinegar, and salt. Bring it just to a boil, then stir until the salt dissolves. Turn off the heat and let it cool slightly. You don’t want to pour boiling brine over delicate cucumbers—it can cook them and ruin the crunch.
Step 4: Pack the Jar
Add garlic, dill, mustard seeds, peppercorns, coriander, and bay leaf to the jar. Then, tightly pack in the cucumbers. Pour the warm brine over the top, leaving about ½ inch of space at the top.
Tap the jar gently to release any trapped air bubbles. Make sure all cucumbers are fully submerged. If they float, tuck in a piece of dill to hold them down.
Seal the jar tightly.
Step 5: Ferment or Refrigerate
Now you have two options, depending on whether you want quick refrigerator pickles or naturally fermented kosher dills:
🧊 For Refrigerator Pickles:
Let the jar cool completely, then refrigerate for at least 24 hours before tasting. They’ll develop full flavor in 3–5 days and stay good for about 1 month.
🌿 For Fermented Kosher Dills:
Leave the jar at room temperature (65–75°F) for 2–3 days. You’ll notice bubbles and cloudiness — that’s natural fermentation happening! After 3 days, move the jar to the fridge to slow the process. These will have a deeper, more complex tangy flavor.
🥗 How to Tell When They’re Ready
A properly fermented pickle will turn from bright green to a dull olive color. The brine will become slightly cloudy, and the pickles will feel firm to the touch. The aroma will be garlicky and pleasantly sour — that’s when you know they’re perfect.
🧠 My Pickling Tips for Crunchy Success
-
Use fresh cucumbers — the firmer, the better.
-
Trim the blossom end — it stops enzymes from softening the pickle.
-
Don’t use table salt. It can make the brine cloudy and overly salty.
-
Avoid boiling the cucumbers. Always use cooled brine.
-
Store in glass, not plastic. Glass maintains flavor and texture better.
🍽️ Serving Ideas
Kosher dill pickles aren’t just for sandwiches. Here are some of my favorite ways to enjoy them:
-
Chopped into potato salad for a tangy crunch.
-
On top of a lamb burger (yes, they’re perfect together).
-
Served alongside smoked meats or BBQ.
-
Diced into tuna or chicken salad.
-
Eaten straight from the jar — the best late-night snack.
🧘♀️ Health Benefits of Kosher Dill Pickles
Pickles aren’t just tasty; they’re surprisingly good for you — especially the fermented kind.
-
They’re low in calories but full of flavor, so they make a great snack for weight management.
-
The vinegar and garlic support gut health and immunity.
-
Fermented pickles are rich in probiotics, which help with digestion.
-
Dill and garlic contain natural antioxidants and anti-inflammatory compounds.
Just be mindful of the sodium — a little goes a long way.
🧺 Storing and Shelf Life
-
Refrigerated pickles: Last up to 1 month.
-
Fermented pickles: Can last up to 6 months if stored in a cool place.
Always use a clean utensil when removing pickles to prevent contamination.
🌿 Variations to Try
Once you master this basic recipe, the possibilities are endless.
Here are a few of my favorite twists:
-
Spicy Pickles: Add a few slices of jalapeño or red pepper flakes.
-
Sweet & Dill: Mix 1 tablespoon sugar into the brine for a sweet-sour flavor.
-
Garlic Explosion: Double the garlic for bold deli-style pickles.
-
Herb Infusion: Try adding thyme, rosemary, or bay for a unique twist.
🏁 Final Thoughts
Making kosher dill pickles at home is one of the most satisfying kitchen projects you can do. It’s simple, affordable, and yields incredible flavor. There’s no comparison between a store-bought jar and the taste of one you made yourself, full of fresh garlic and dill.
Every time I open a jar of my pickles, I’m reminded that food made with patience and care always tastes better. So grab some cucumbers, roll up your sleeves, and start your pickling adventure — trust me, you’ll never look back.
Related Posts

Protein Balls with Dates and Oats | Healthy No-Bake Energy Snack
It all started on one of those chaotic mornings when…

Cozy Recipes for Days You Feel Drained | Simple Comfort Meals for Low-Energy Days
There are days when the world feels heavier than usual—days…
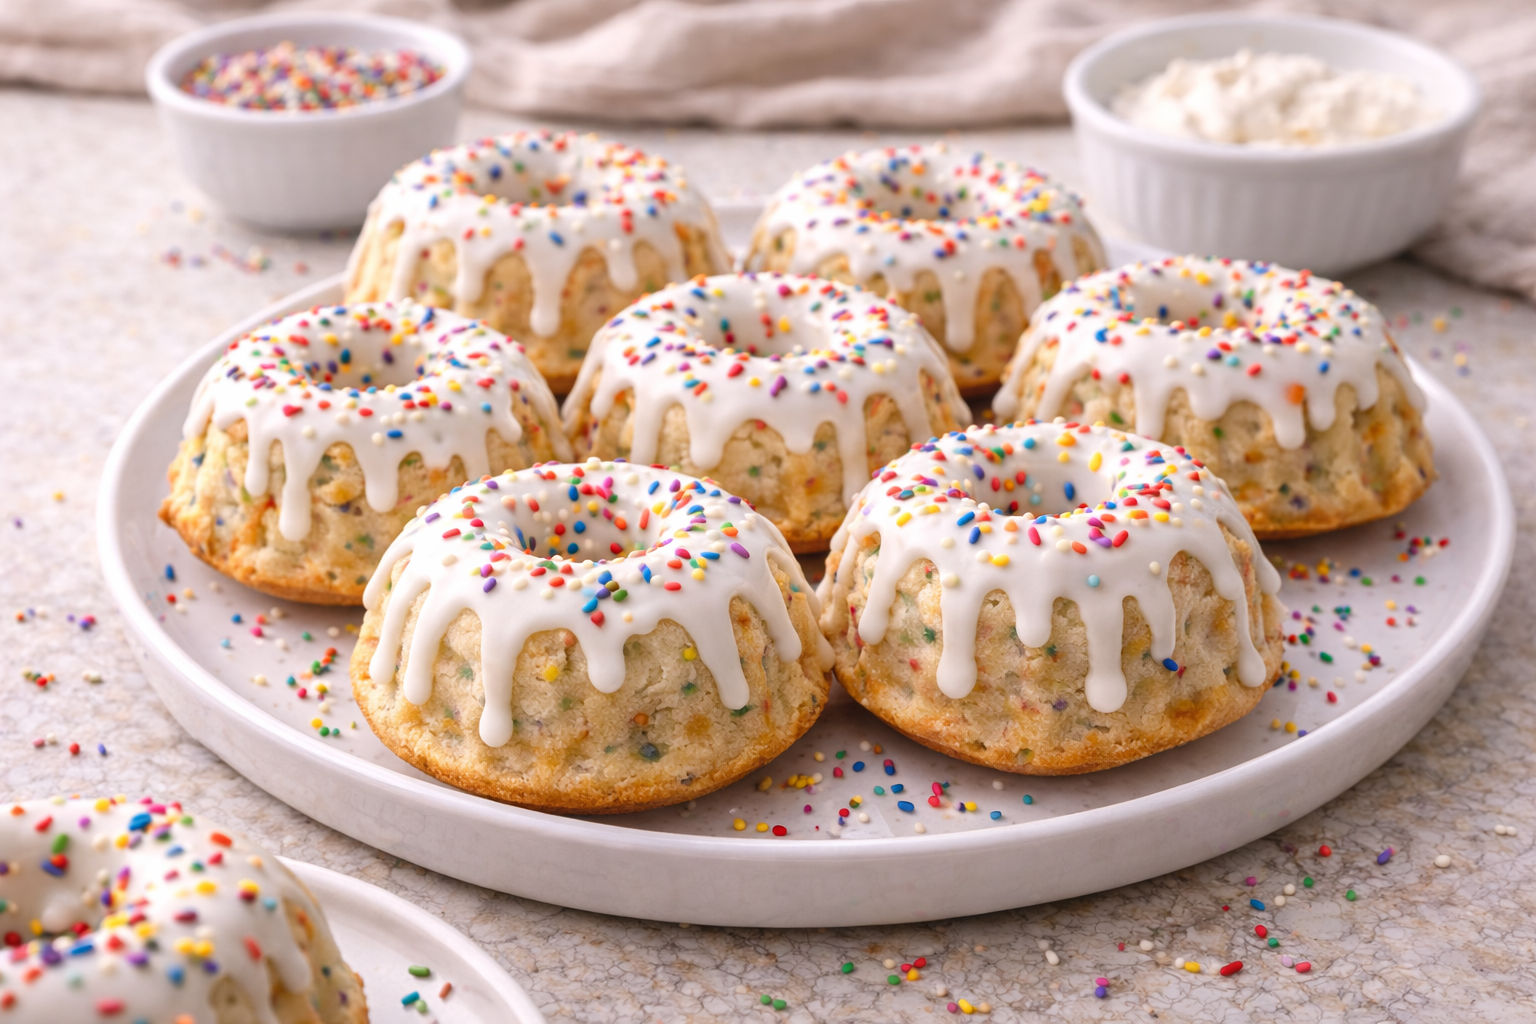
When the Mood Is “Celebrate Anyway”: Filled Mini Bundt Cakes
Some days don’t come with a reason to celebrate. No…