
Homemade Sopaipillas: Your Guide to Perfectly Puffed Fried Dough
There are some foods that just feel like a warm hug, a sweet memory, or a comforting embrace. For me, sopaipillas are exactly that. These golden, airy pillows of fried dough, often found gracing tables in the American Southwest and parts of Latin America, hold a special place in my heart. They’re simple, yet incredibly satisfying, and achieving that signature puff is a small kitchen victory that brings immense joy.
If you’ve ever had a fresh sopaipilla, you know the magic: a light crisp on the outside, a wonderfully hollow and soft interior, ready to absorb whatever sweet or savory topping you choose. If you haven’t, prepare to be introduced to a truly wonderful treat that’s easier to make at home than you might think.
A Taste of History and Culture

The name “sopaipilla” comes from “sopaipa,” a Spanish word meaning “bread soaked in oil.” While the exact origin is debated, fried dough has a long history across many cultures. In the United States, sopaipillas are most famously associated with New Mexico, where they are considered the state pastry. Here, they’re often served alongside spicy New Mexican cuisine, used to sop up chile, or enjoyed as a dessert with honey. But New Mexico isn’t the only place to find them.
Across Latin America, variations exist. In Chile, sopaipillas often incorporate mashed pumpkin into the dough and are served with a sweet syrup called chancaca. In Argentina and Uruguay, they’re called tortas fritas and are typically savory, enjoyed with mate. The version we’re focusing on today leans into the New Mexican tradition – light, airy, and perfect for a generous drizzle of honey.
This recipe is about bringing that comforting experience right into your kitchen. It’s a process that invites you to get your hands a little messy, to feel the dough, and to revel in the simple satisfaction of creating something truly special from basic ingredients.
Ingredients: Simple Magic

One of the beauties of sopaipillas is their humble ingredient list. You likely have most of these in your pantry right now.
- All-purpose flour: The backbone of our dough. Use a good quality unbleached flour if you can, it makes a subtle difference in texture.
- Baking powder: This is our primary leavening agent, responsible for that incredible puff! Make sure yours isn’t expired.
- Salt: Essential for balancing the flavor and enhancing the sweetness (even if you’re going savory).
- Shortening or lard: This is where the richness comes in. Shortening gives a very tender crumb and a classic flavor. You can use unsalted butter if you prefer, but shortening often yields a slightly lighter, crisper result. Melted coconut oil can also work for a dairy-free option, though it imparts a slight coconut flavor.
- Warm water: Not hot, not cold. Just warm enough to activate the baking powder and help bring the dough together. Around 105-115°F (40-46°C) is ideal.
- Oil for frying: A neutral oil with a high smoke point is best. Vegetable oil, canola oil, or peanut oil are all excellent choices.
- Honey, powdered sugar, or cinnamon sugar: For serving!
Making Sopaipillas: Your Step-by-Step Guide

Let’s get down to business. Making sopaipillas is a wonderfully tactile experience, so don’t be afraid to dive in!
1. Mixing the Dough
In a large bowl, whisk together the flour, baking powder, and salt. Make sure these dry ingredients are thoroughly combined. Next, add the melted shortening (or your chosen fat). Using your fingertips or a pastry blender, work the fat into the flour mixture until it resembles coarse crumbs. This step is crucial; it coats the flour particles and helps create that tender, flaky texture.
Now, gradually add the warm water, about half a cup at a time, mixing with a wooden spoon or your hands. The amount of water can vary slightly depending on your flour and humidity, so add it slowly until a shaggy dough forms. It should be moist enough to come together, but not sticky.
2. Kneading for Perfection
Turn the dough out onto a lightly floured surface. Knead it gently for about 5-7 minutes. You’re not looking for a super-developed gluten structure like you would with bread, but rather a smooth, elastic, and pliable dough. It should feel soft and spring back slowly when you press it with your finger. Over-kneading can make your sopaipillas tough, so resist the urge to keep going once it feels right.
3. The All-Important Rest
Form the dough into a ball and place it back in the bowl. Cover the bowl with plastic wrap or a clean kitchen towel and let it rest at room temperature for at least 30 minutes, or up to an hour. This resting period is not just a suggestion; it’s vital. It allows the gluten to relax, making the dough easier to roll out, and helps the baking powder fully activate for maximum puff!
4. Rolling and Cutting
Once rested, divide the dough into two or three equal portions for easier handling. On a lightly floured surface, roll out one portion of dough to about 1/8 to 1/4 inch thickness. The key here is evenness – an uneven thickness can lead to some sopaipillas puffing beautifully while others remain flat.
Using a knife, pizza cutter, or pastry wheel, cut the dough into squares, triangles, or rectangles, roughly 3-4 inches in size. Don’t worry too much about perfection; rustic shapes are charming! Gather any scraps, gently re-knead them, let them rest for 10-15 minutes, and then roll and cut again.
5. Frying for the Puff
Pour about 2-3 inches of neutral oil into a heavy-bottomed pot or Dutch oven. Heat the oil over medium-high heat until it reaches 350-375°F (175-190°C). A thermometer is your best friend here. If the oil is too cool, your sopaipillas will be greasy; if too hot, they’ll brown too quickly on the outside and be raw inside, or even burn.
Carefully slide 2-3 sopaipilla pieces into the hot oil, being careful not to overcrowd the pot. Overcrowding drops the oil temperature too quickly. As soon as they hit the oil, use a metal slotted spoon or tongs to gently push them down into the hot oil. This initial immersion and gentle pressure often helps them puff up wonderfully. They should puff almost immediately, transforming into golden balloons!
Fry for about 30-60 seconds per side, until they are beautifully golden brown and fully puffed. The aroma as they fry is just delightful – a warm, slightly sweet smell that signals something special is happening.
6. Draining and Serving
Once golden, remove the sopaipillas from the oil with a slotted spoon or tongs and transfer them to a plate lined with paper towels to drain excess oil. Serve them immediately while they are still warm and crisp. This is when they are at their absolute best!
For serving, a drizzle of warm honey is the classic choice. You can also dust them with powdered sugar, a mixture of cinnamon sugar, or even a spiced syrup. Don’t be afraid to experiment!
Mastering the Art: Tips for Sopaipilla Success
While the steps are straightforward, a few key tips can ensure your sopaipilla success every time.
- Dough Consistency is Key: Your dough should be soft, pliable, and slightly moist, but not sticky. If it’s too dry, it won’t puff well. If it’s too wet, it will be hard to handle and may absorb too much oil. Adjust with a tiny bit more water or flour as needed during kneading.
- Oil Temperature Matters: This cannot be stressed enough. Invest in a good thermometer. Maintaining the correct temperature (350-375°F or 175-190°C) is crucial for a non-greasy, perfectly puffed sopaipilla.
- Don’t Overcrowd the Pot: Frying in batches is important. Adding too many sopaipillas at once will significantly drop the oil temperature, leading to greasy, flat results. Patience is a virtue here.
- Gentle Dough Handling: While kneading is necessary, avoid overworking the dough. A light touch will keep your sopaipillas tender and promote a better puff.
- Roll Evenly: As mentioned, consistent thickness ensures uniform cooking and puffing. Aim for that 1/8 to 1/4 inch thickness across the entire sheet of dough.
- Warm Honey for Serving: A trick for making the honey even more luscious is to gently warm it before serving. It flows beautifully and creates a wonderfully sticky, sweet coating.
Troubleshooting Common Sopaipilla Woes
Even with the best intentions, things can sometimes go awry. Here’s how to fix common issues:
- Why didn’t my sopaipillas puff? This is the most common complaint. The usual culprits are: 1) Oil not hot enough (below 350°F). 2) Dough rolled too thick. 3) Baking powder is old or inactive. 4) Dough not rested long enough. 5) Dough overworked, making it tough. Double-check these points!
- My sopaipillas are too greasy. This almost always means your oil wasn’t hot enough. When the oil is too cool, the dough slowly absorbs it instead of cooking quickly and forming a barrier. Ensure your oil is consistently in the 350-375°F range.
- They’re hard and tough. This suggests the dough was over-kneaded or not rested long enough. Too much gluten development without relaxation makes for a dense, chewy product.
- They browned too quickly. Your oil was too hot (above 375°F). The outside cooks before the inside has a chance to puff or cook through.
Sopaipilla Variations & Twists
While classic with honey is perfection, there are many ways to enjoy sopaipillas:
- Savory Sopaipillas: These are fantastic! Instead of sweet toppings, fill the hollow center with seasoned ground beef, shredded chicken, refried beans, or a spoonful of green chile stew. A sprinkle of cheese on top is also wonderful.
- Cinnamon-Sugar Delight: Mix granulated sugar with a generous amount of cinnamon. While the sopaipillas are still warm, toss them gently in this mixture. It’s like a churro in a different form!
- Powdered Sugar Snow: A simple dusting of powdered sugar offers an elegant and less sticky option.
- Different Flours: You can experiment with a portion of whole wheat flour for a nuttier flavor, though it might result in a slightly denser sopaipilla. Gluten-free flour blends can work, but results will vary significantly.
- Spiced Dough: Add a pinch of cinnamon or a tiny dash of nutmeg to your dry ingredients for a subtle aromatic touch in the dough itself.
Storing & Reheating Your Treats
Sopaipillas are truly best enjoyed fresh and warm. However, if you have leftovers, you can store them in an airtight container at room temperature for up to 1-2 days. They will lose some of their crispness.
To reheat, place them on a baking sheet in a preheated oven at 300°F (150°C) for about 5-7 minutes, or until warmed through and slightly crisped. Avoid the microwave, as it will make them chewy and rubbery.
Frequently Asked Questions
Can I make the dough ahead of time?
Yes, you can! After kneading, wrap the dough tightly in plastic wrap and refrigerate for up to 24 hours. Let it come to room temperature for about 30 minutes before rolling and frying.
What if I don’t have a deep fryer?
A heavy-bottomed pot or Dutch oven works perfectly. Just ensure it’s deep enough for at least 2-3 inches of oil and has high sides to prevent splattering.
Can I use butter instead of shortening?
Yes, you can use unsalted butter. It will impart a lovely flavor, but may result in a slightly less crisp texture than shortening or lard.
Is there a non-fried version?
While some recipes suggest baking, the magic of a sopaipilla really comes from the rapid frying process that creates that iconic puff and crisp exterior. A baked version would be more like a soft biscuit and wouldn’t have the same texture or character.
Embrace the Puff!
Making sopaipillas at home is a rewarding experience. From the simple act of kneading the dough to the moment you see them puff up in the hot oil, it’s a culinary journey filled with small delights. Gather your ingredients, clear your counter, and get ready to create some truly comforting, golden-fried perfection. Enjoy the process, and most importantly, enjoy those delicious, warm sopaipillas!
Related Posts
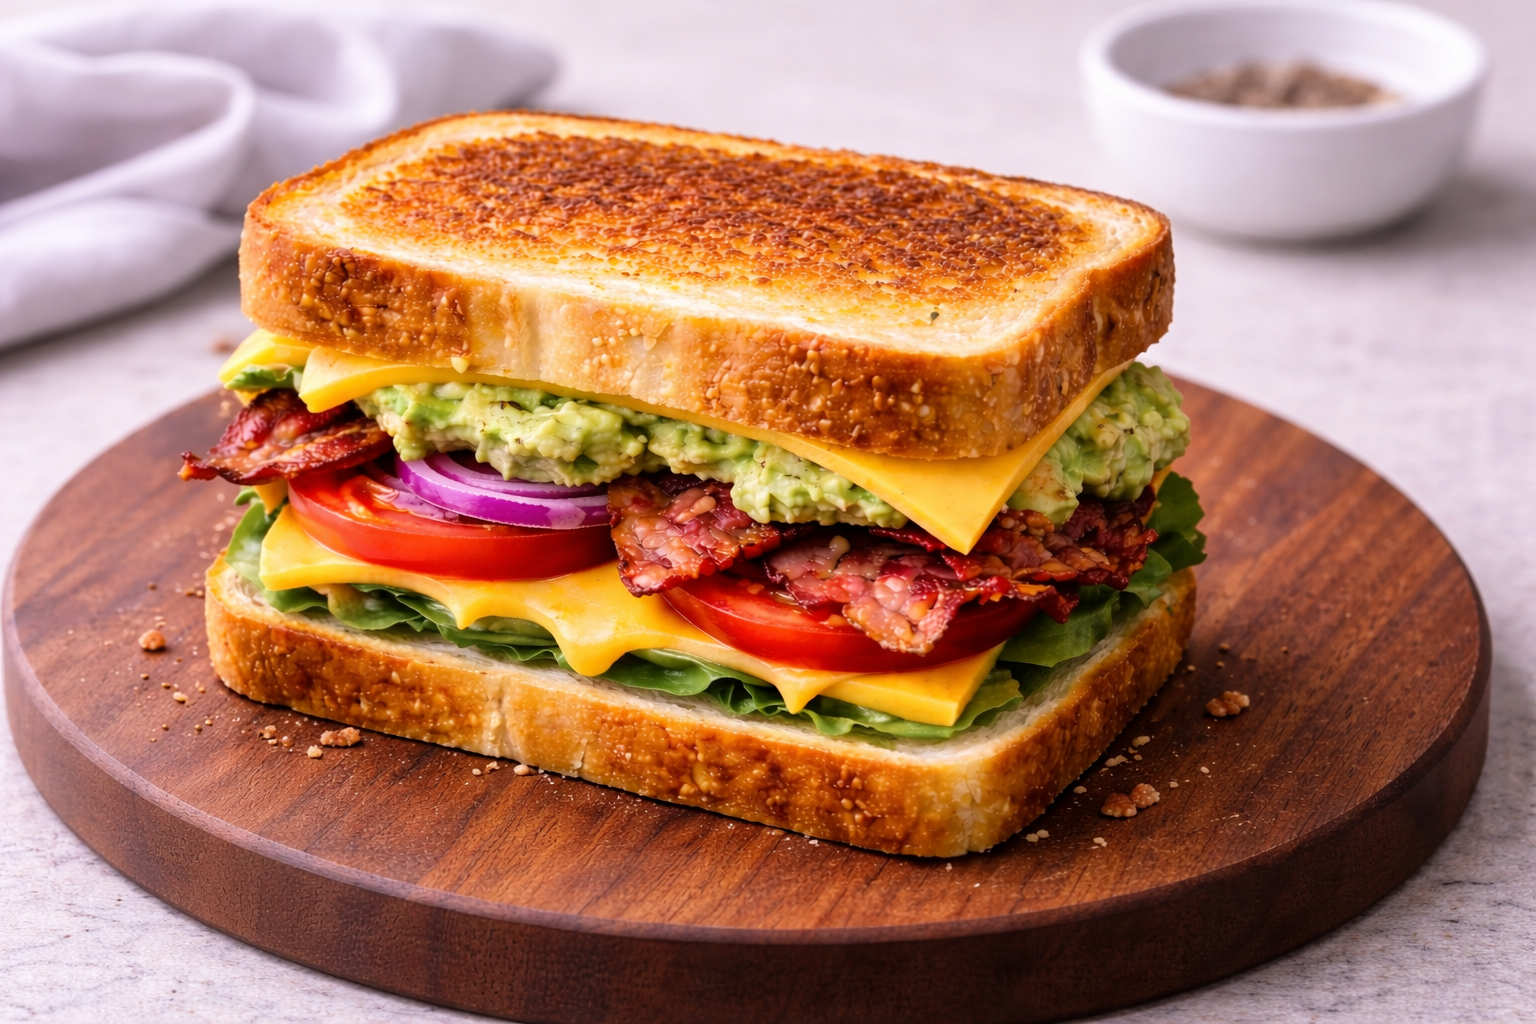
This Bacon, Avocado & Melted Cheese Sandwich Is About Balance, Not Excess
Before I care about how impressive a sandwich looks, I…
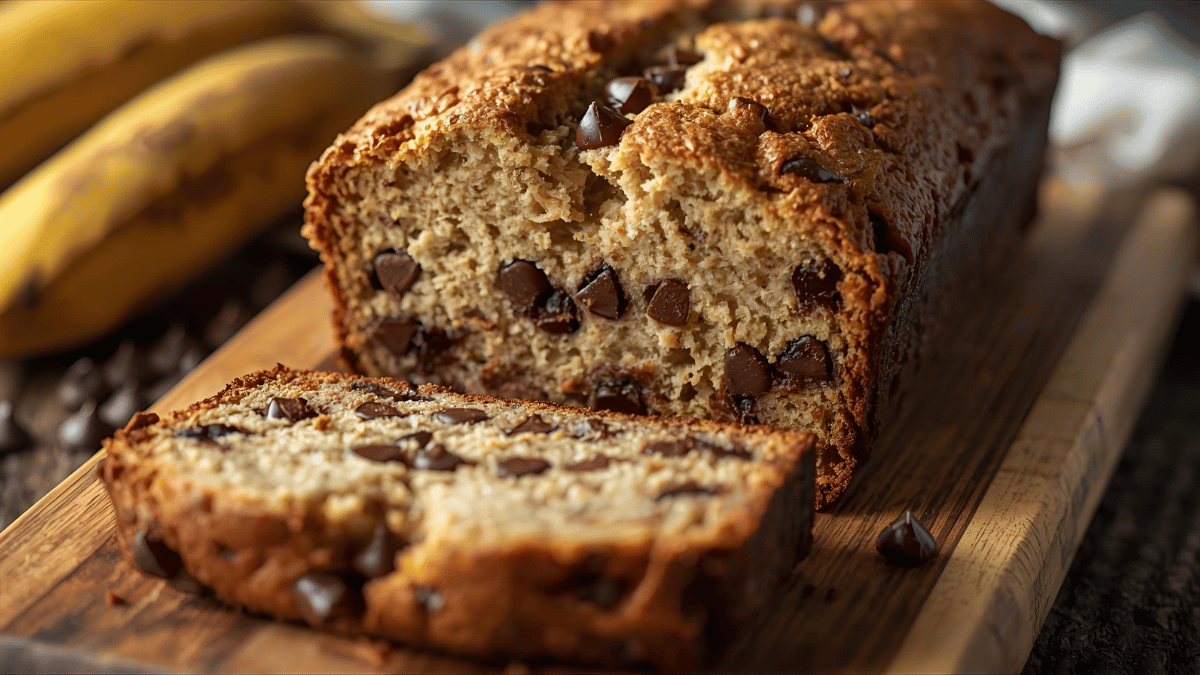
Moist Chocolate Chip Banana Bread Recipe – Soft, Sweet & Easy to Make
Some recipes feel like home the moment you make them,…
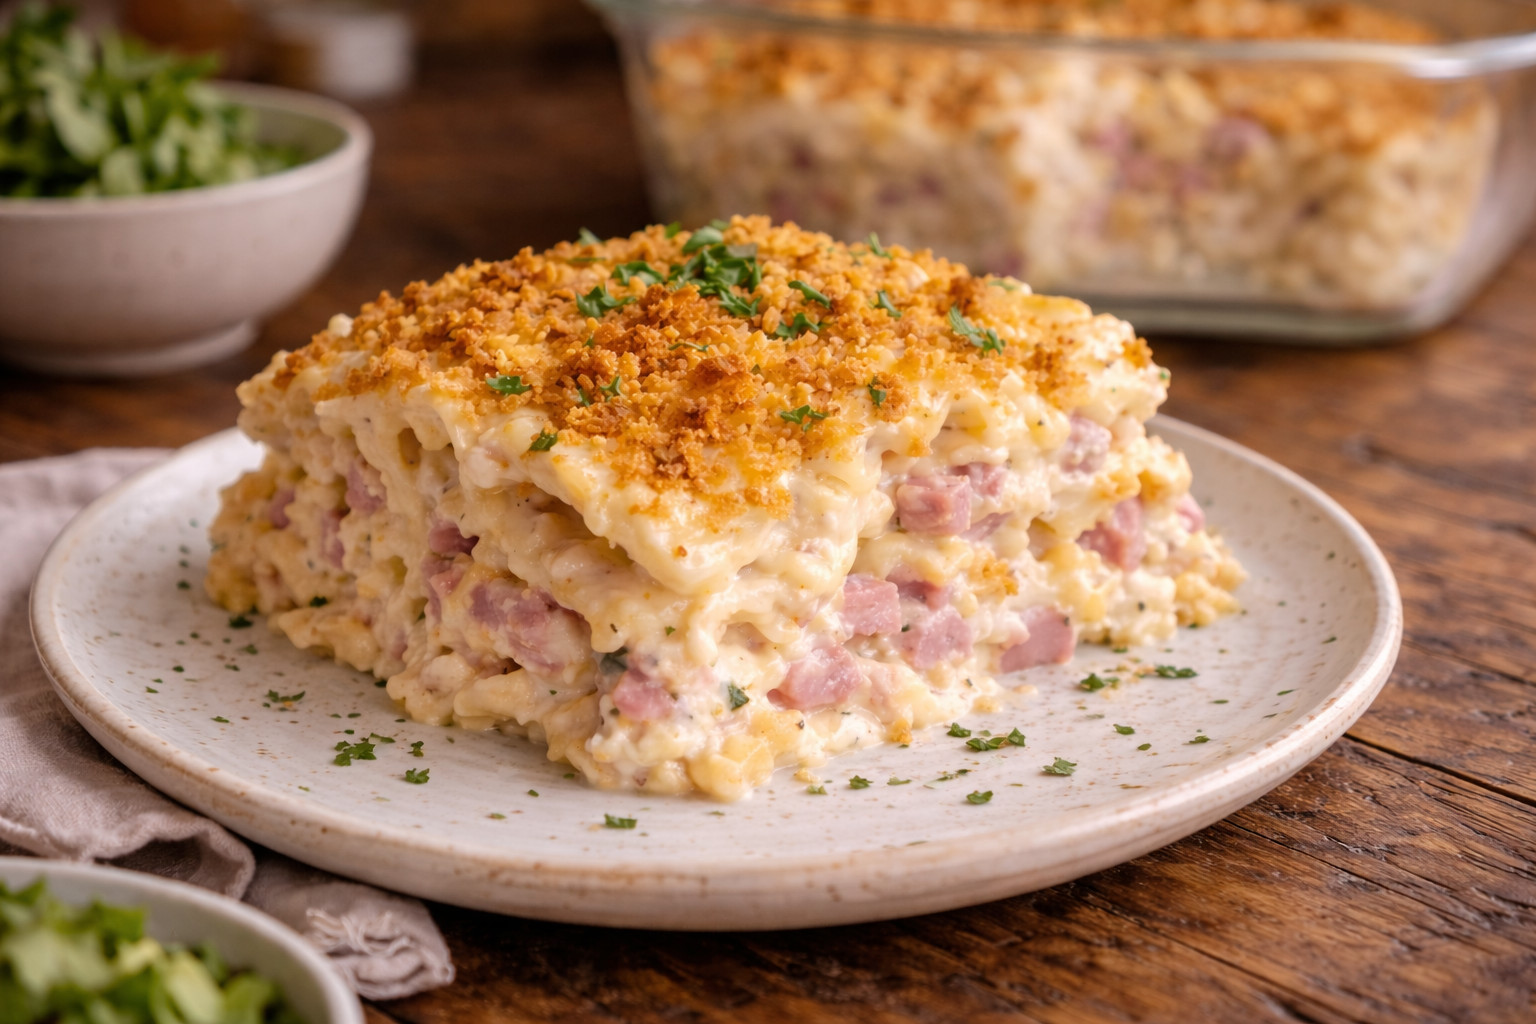
I Made This Creamy Baked Pasta on a Day That Already Felt Good
I didn’t make this pasta because I was tired. I…