
A slow, comforting recipe made with simple ingredients and real feeling
There is something deeply comforting about making chocolate at home. Not the kind wrapped in shiny foil or snapped from a factory-made bar, but chocolate you make yourself, in your own kitchen, with your own hands. It feels quieter. Slower. More personal.
This homemade chocolate recipe is built around two humble ingredients most kitchens already have: cocoa powder and milk. No fancy machines. No complicated steps. Just warmth, patience, and a little trust in the process. This is the kind of recipe you make on an evening when the world feels heavy, or on a calm afternoon when you want to create something gentle and familiar.
Chocolate like this isn’t about perfection. It’s about mood. About comfort. About letting the smell of cocoa fill the kitchen and soften the edges of the day.
Why homemade chocolate feels different
Store-bought chocolate is convenient, but homemade chocolate carries something extra. When you make it yourself, you control the sweetness, the richness, and the texture. You decide how dark or mild it feels. You stir slowly. You taste as you go. It becomes less about a recipe and more about a moment.
Using cocoa powder and milk gives the chocolate a soft, rounded flavor. It’s not sharp or overly sweet. It’s smooth, familiar, and comforting—like hot chocolate, but solid, sliceable, and deeply satisfying.
Ingredients you’ll need
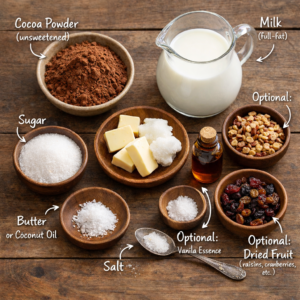
This recipe keeps things simple. Each ingredient plays a clear role, and nothing feels unnecessary.
- Cocoa powder (unsweetened, good quality if possible)
- Milk (full-fat gives the best texture, but regular milk works too)
- Sugar (adjust to your taste)
- Butter or coconut oil
- A pinch of salt
- Optional: vanilla essence, chopped nuts, or dried fruit
That’s it. No special chocolate molds required. No thermometer. Just everyday ingredients coming together gently.
Preparing your space
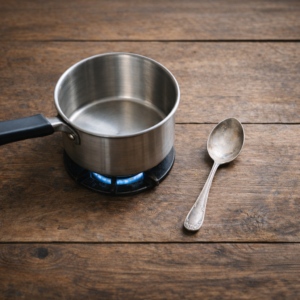
Before you start, take a moment to slow down. Clear the counter. Set out a small saucepan and a spoon. This recipe responds best when you’re not rushing.
Chocolate notices heat. It reacts to impatience. Keep the flame low. Let everything melt and blend at its own pace.
Step-by-step: making the chocolate
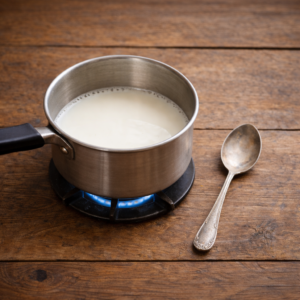
Start by warming the milk in a small saucepan over low heat. You don’t want it to boil. You’re just inviting warmth into it.
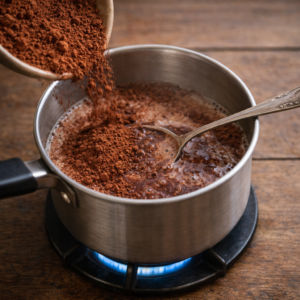
Once the milk is warm, add the cocoa powder gradually, stirring constantly. At first it may look thin or uneven. Keep going. Cocoa needs time to dissolve fully.
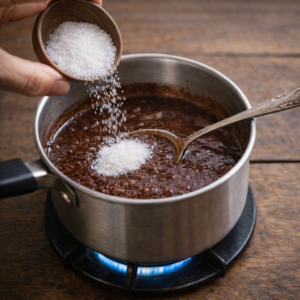
Add sugar next, a little at a time. Taste as you go. Homemade chocolate should suit you, not a standard measurement.
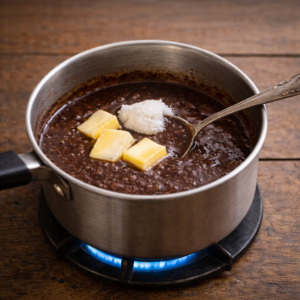
Now add butter or coconut oil. This is where the magic starts. The mixture will become glossy, thicker, and smoother. Stir slowly and steadily, keeping the heat low.
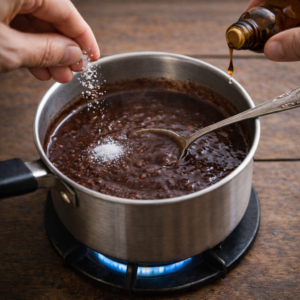
Add a pinch of salt to balance the sweetness. If you like, add a few drops of vanilla essence. The smell at this stage is deep, warm, and comforting.
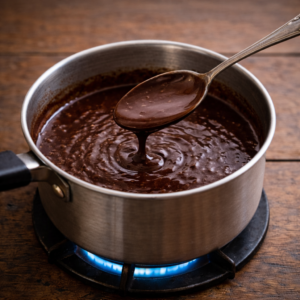
Keep stirring for a few minutes until the mixture looks silky and uniform. It should coat the spoon lightly without feeling heavy or grainy.
Setting the chocolate
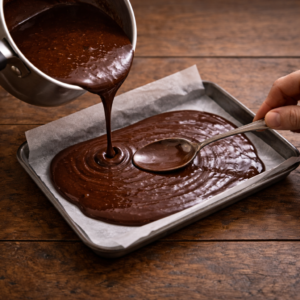
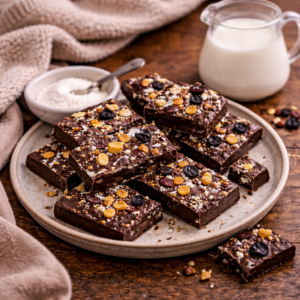
Line a small tray or plate with parchment paper. Pour the warm chocolate mixture onto it and spread gently with the back of a spoon.
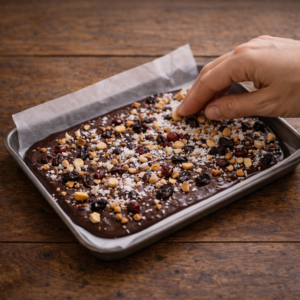
If you want texture, this is the moment. Sprinkle chopped nuts, coconut, or dried fruit on top and press them in lightly.
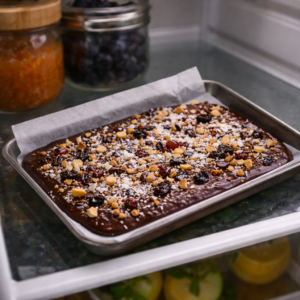
Let the chocolate cool at room temperature for a while, then place it in the refrigerator to set completely. This takes about one to two hours, depending on thickness.
Cooling is part of the process. Let it happen slowly. Chocolate settles as it rests
The final result
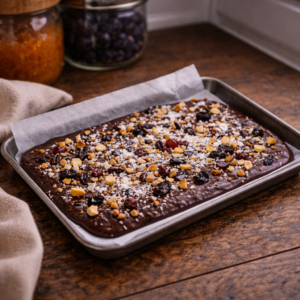
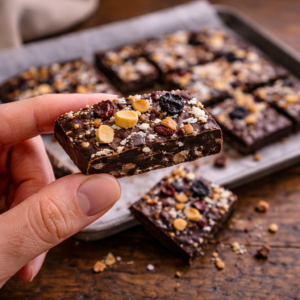
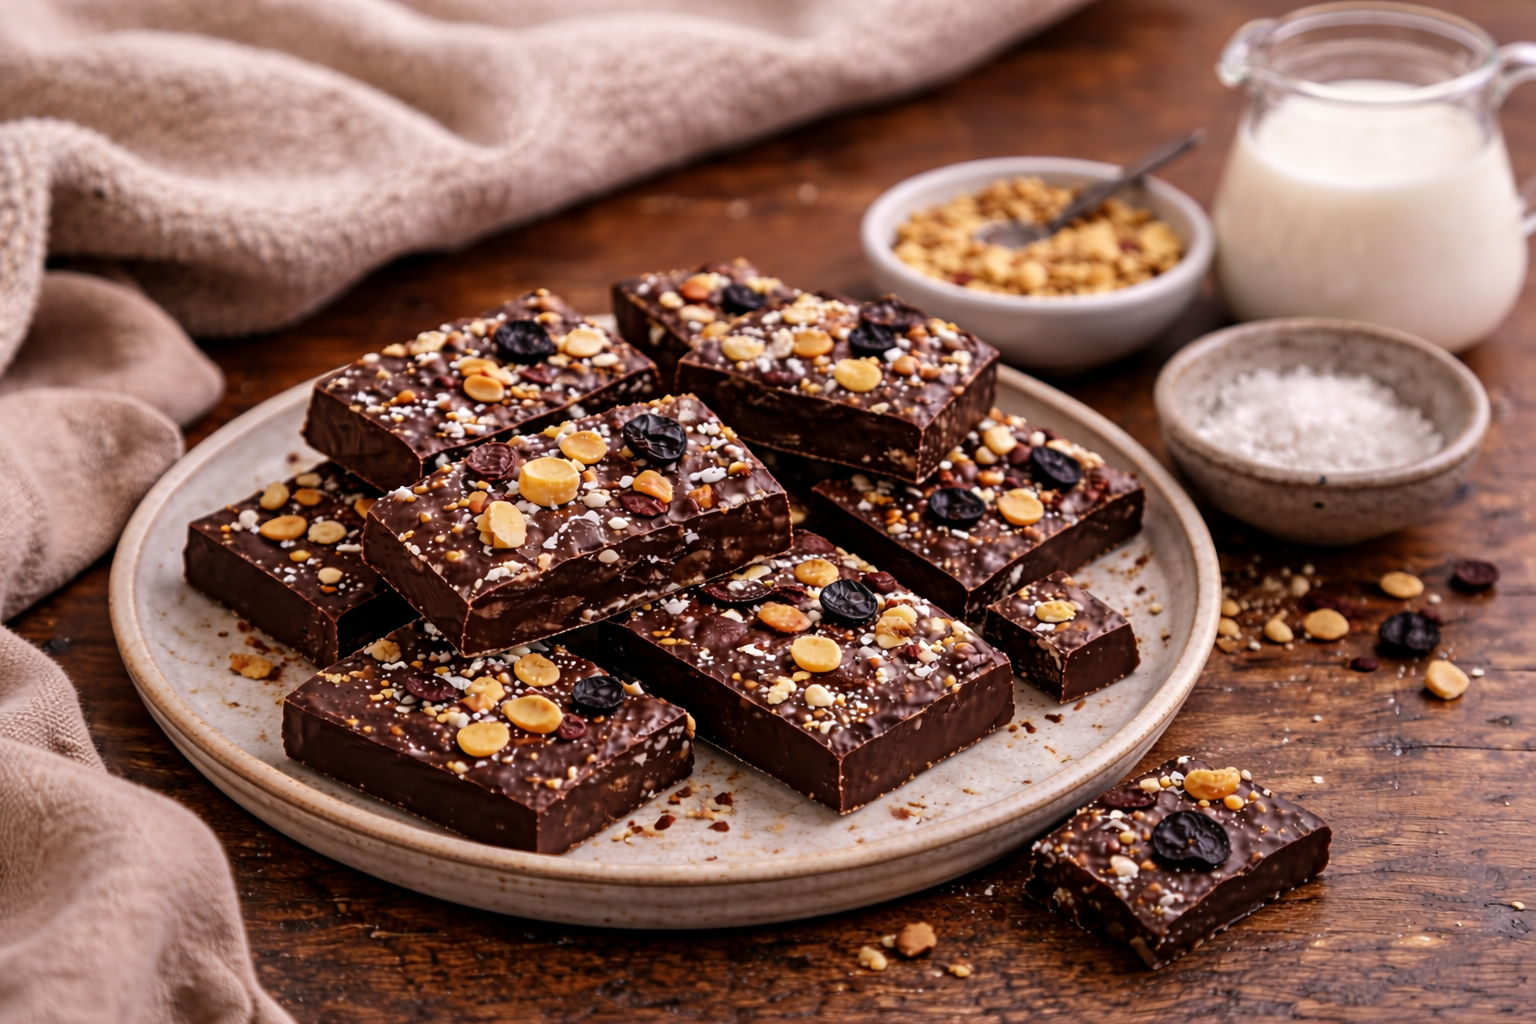
Once set, cut the chocolate into small squares or break it into rustic pieces. It won’t look factory-perfect—and that’s the point. Each piece feels handmade, personal, and real.
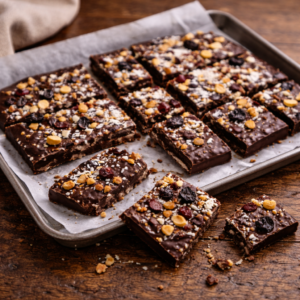
The texture is soft but firm. The flavor is rich without being overpowering. It melts gently on the tongue, carrying warmth rather than sharp sweetness.
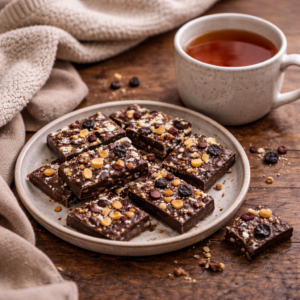
This chocolate pairs beautifully with quiet moments. A cup of tea. A soft blanket. A pause in the middle of a busy day.
Small tips from experience
If your chocolate feels too soft, add a little more butter or let it chill longer.

If it tastes bitter, add a touch more sugar or a splash of milk.
If it feels too sweet, balance it with salt or chopped nuts.

Homemade chocolate is forgiving. It adjusts to you.
Ingredients
Method
- Place a small saucepan on low heat. Pour in the milk and warm it gently. Do not let it boil.
- Add the cocoa powder gradually, stirring constantly until mostly smooth.
- Add sugar a little at a time, stirring and tasting until it suits your preference.
- Add butter or coconut oil and stir slowly until the mixture becomes glossy and thick.
- Add a pinch of salt and vanilla essence if using. Stir for 2–3 minutes until silky.
- Line a small tray or plate with parchment paper.
- Pour the warm chocolate mixture into the tray and spread evenly with the back of a spoon.
- Sprinkle nuts, coconut, or dried fruit on top if desired. Press lightly.
- Let it cool at room temperature, then refrigerate for 1–2 hours until fully set.
- Cut into small squares or break into rustic pieces and enjoy.
Notes
💛 Mood to Meal Tip
This chocolate is best enjoyed slowly. Pair it with tea, quiet time, and a moment to pause.Why this recipe fits a comfort-focused mood
This isn’t just a dessert. It’s a grounding activity. Stirring cocoa and milk is repetitive and calming. The smell alone can shift your mood. Making chocolate this way turns the kitchen into a quiet, safe place—even if only for a short while.
For days when emotions feel tangled, simple food can bring things back into balance. This chocolate does exactly that.
A gentle ending
You don’t need a special reason to make homemade chocolate. You don’t need guests or celebrations. Sometimes, making something warm and sweet for yourself is reason enough.
This recipe is here for those moments. Simple. Honest. Comforting.
Author

Related Posts

30-Minute Vegetarian Meals – Quick & Healthy Dinners for Busy Nights
The sky outside was turning a soft pink as the…

Easy Macaroni and Cheese Recipe (No Flour) — Comfort Food Made Simple
There are days when life feels like a whirlwind —…

Quiet Tired Mood Steak with Creamy Sauce
I didn’t plan to cook this. Honestly, I stood in…