Ingredients
Method
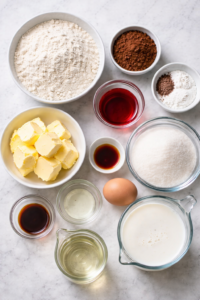
- For the Red Velvet Cakes
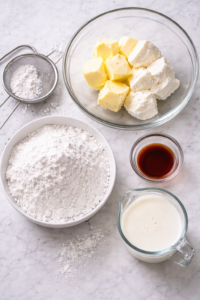
- For the Cream Filling
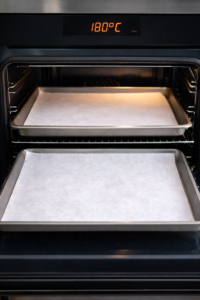
- Prep the Oven
- Preheat oven to 180°C / 350°F.
- Line 2 baking trays with parchment paper.
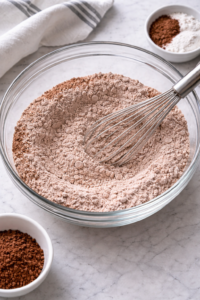
- Mix the Dry Ingredients
- In a bowl, whisk together flour, cocoa powder, baking powder, baking soda, and salt.
- Set aside.
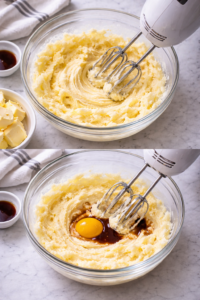
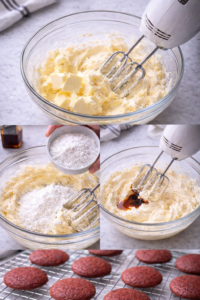
- Cream Butter + Sugar
- In a large bowl, beat butter + sugar until smooth and lighter in texture (not overly fluffy).
- Add the egg and vanilla and mix just until combined.
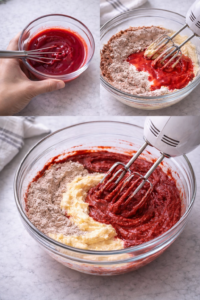
- Add Color + Buttermilk (Gently)
- In a small bowl, mix buttermilk + red food coloring + vinegar.
- Add the dry ingredients and buttermilk mixture to the batter in alternating parts (dry → wet → dry → wet), mixing gently.
- Stop as soon as the batter looks smooth. Do not overmix.
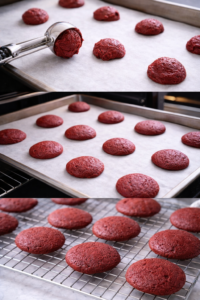
- Scoop + Bake
- Scoop batter into rounds (about 1.5 tbsp each) on the tray, leaving space between them.
- Bake 9–11 minutes, until the tops look set and spring back lightly when touched.
- Let cool on the tray for 5 minutes, then move to a rack and cool fully.
- Make the Filling
- Beat butter + cream cheese until smooth.
- Add powdered sugar in batches, mixing until creamy.
- Add vanilla.
- If needed, add milk 1 tbsp at a time to reach a thick, pipeable texture.
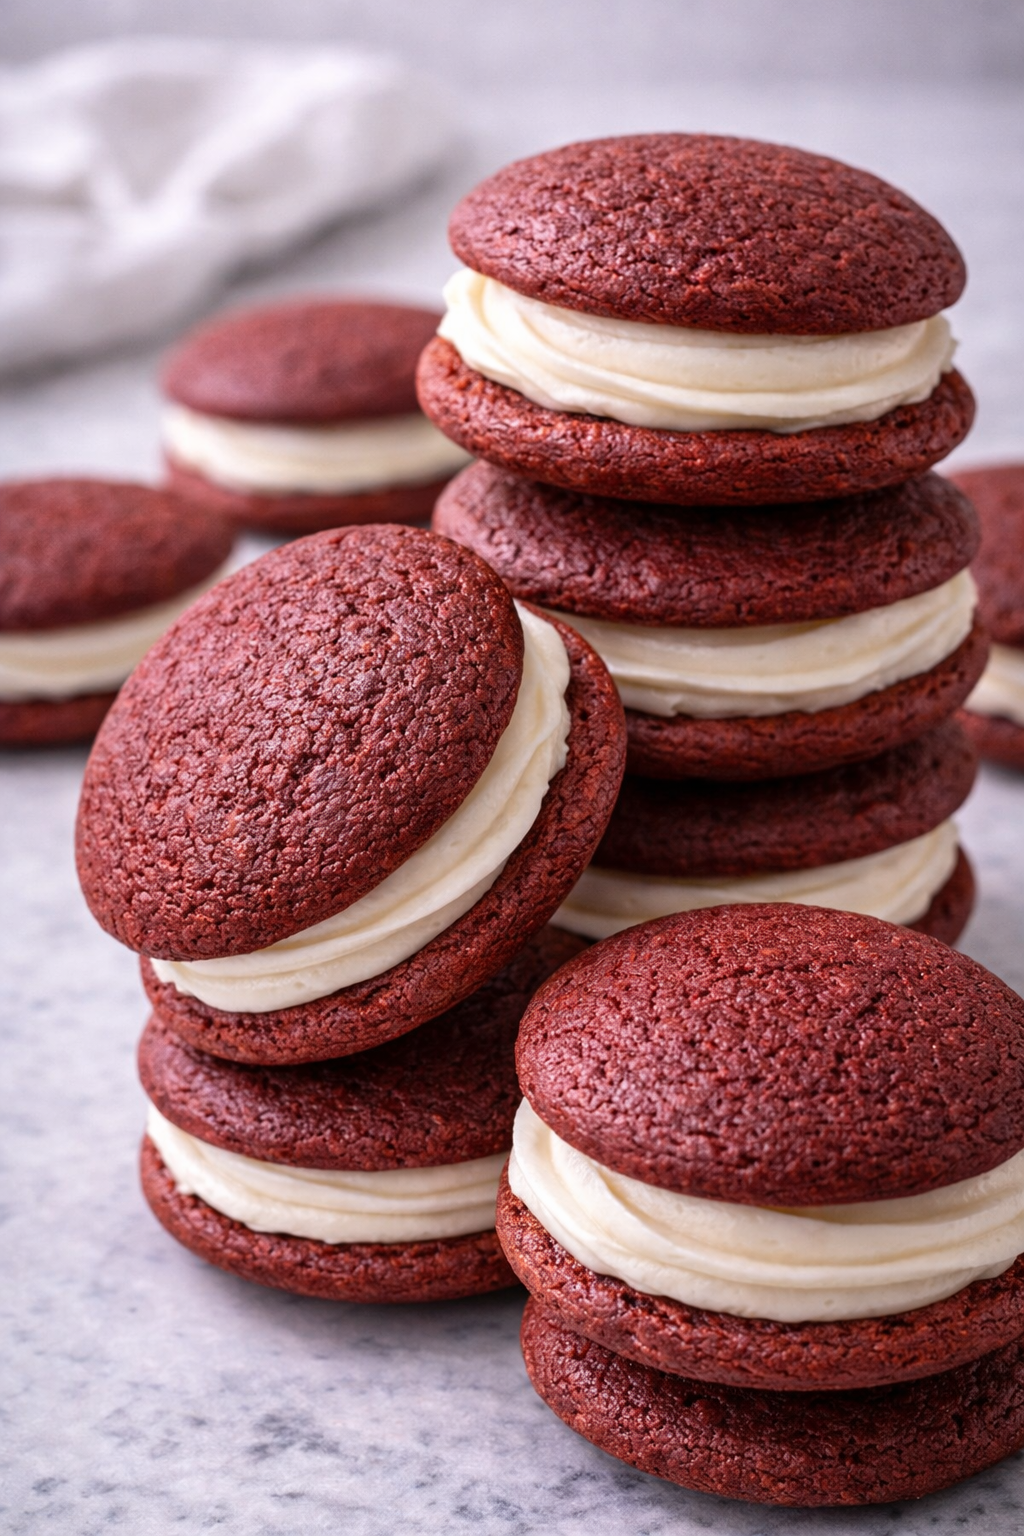
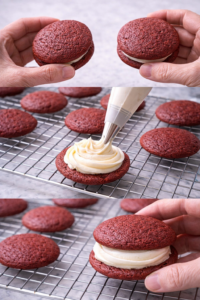
- Assemble
- Pair cakes by size.
- Pipe or spoon filling on the flat side of one cake.
- Top with the second cake and press gently until the filling reaches the edges.
Notes
Do not fill while warm: Warm cakes melt the filling and make the texture sloppy.
Bake until just set: Overbaking is the #1 reason whoopie pies turn dry.
Filling sweetness control: Cream cheese keeps it smooth and balanced, not too sugary.
Storage: Keep in an airtight container in the fridge up to 4 days. Let sit 10 minutes before serving for best texture.